
Installing Nginx
DigitalOcean’s LEMP stack installation tutorial
I’m following DigitalOcean’s How To Install Linux, Nginx, MySQL, PHP (LEMP stack) on Ubuntu 22.04[1] for this and the PHP sections of this walk-through.
With the basics of a secure Ubuntu 22.04 LTS platform in place, we’re ready to start building on it. We’ll first refresh Ubuntu’s package index and then install Nginx by entering:
sudo apt-get updateAnd:
sudo apt-get install -y nginxYou may well need to enter your non-root username password to execute the first of these commands at sudo level. The system spools through the update and installation processes.
Although Nginx is up and running as soon as it finishes installing, the server is locked down so that it won’t allow anything apart from an OpenSSH connection. We need to reconfigure the firewall to allow hypertext transfer protocol[2] (HTTP — the way in which browsers communicate with websites) contact with Nginx. I’m going to secure the server in a later step, which will require secure HTTP (HTTPS) access, so I’m going to add this with:
sudo ufw allow 'Nginx Full'Check that the firewall has adopted the new rule by entering:
sudo ufw statusThe server should respond with:
Status: active

To                         Action      From
--                         ------      ----
OpenSSH                    ALLOW       Anywhere
Nginx Full                 ALLOW       Anywhere
OpenSSH (v6)               ALLOW       Anywhere (v6)
Nginx Full (v6)            ALLOW       Anywhere (v6)
More significantly, you can now apply the acid test of opening your server’s URL in a browser to see if web traffic is getting through. If you’ve configured a domain name to work with the server, you can type it into your browser’s address bar, or, if not, enter the server’s public IP that you’ve been using to connect via SSH. If you’re not clear about your public IP, you can find it on your DigitalOcean dashboard as I’ve described in the section on creating a DO Droplet above. (DO’s tutorial[3] includes a command to find your public IP through SSH.) I’ve configured the domain name timmassey.website to work with my server, so I’m going to enter that in the browser’s address bar:
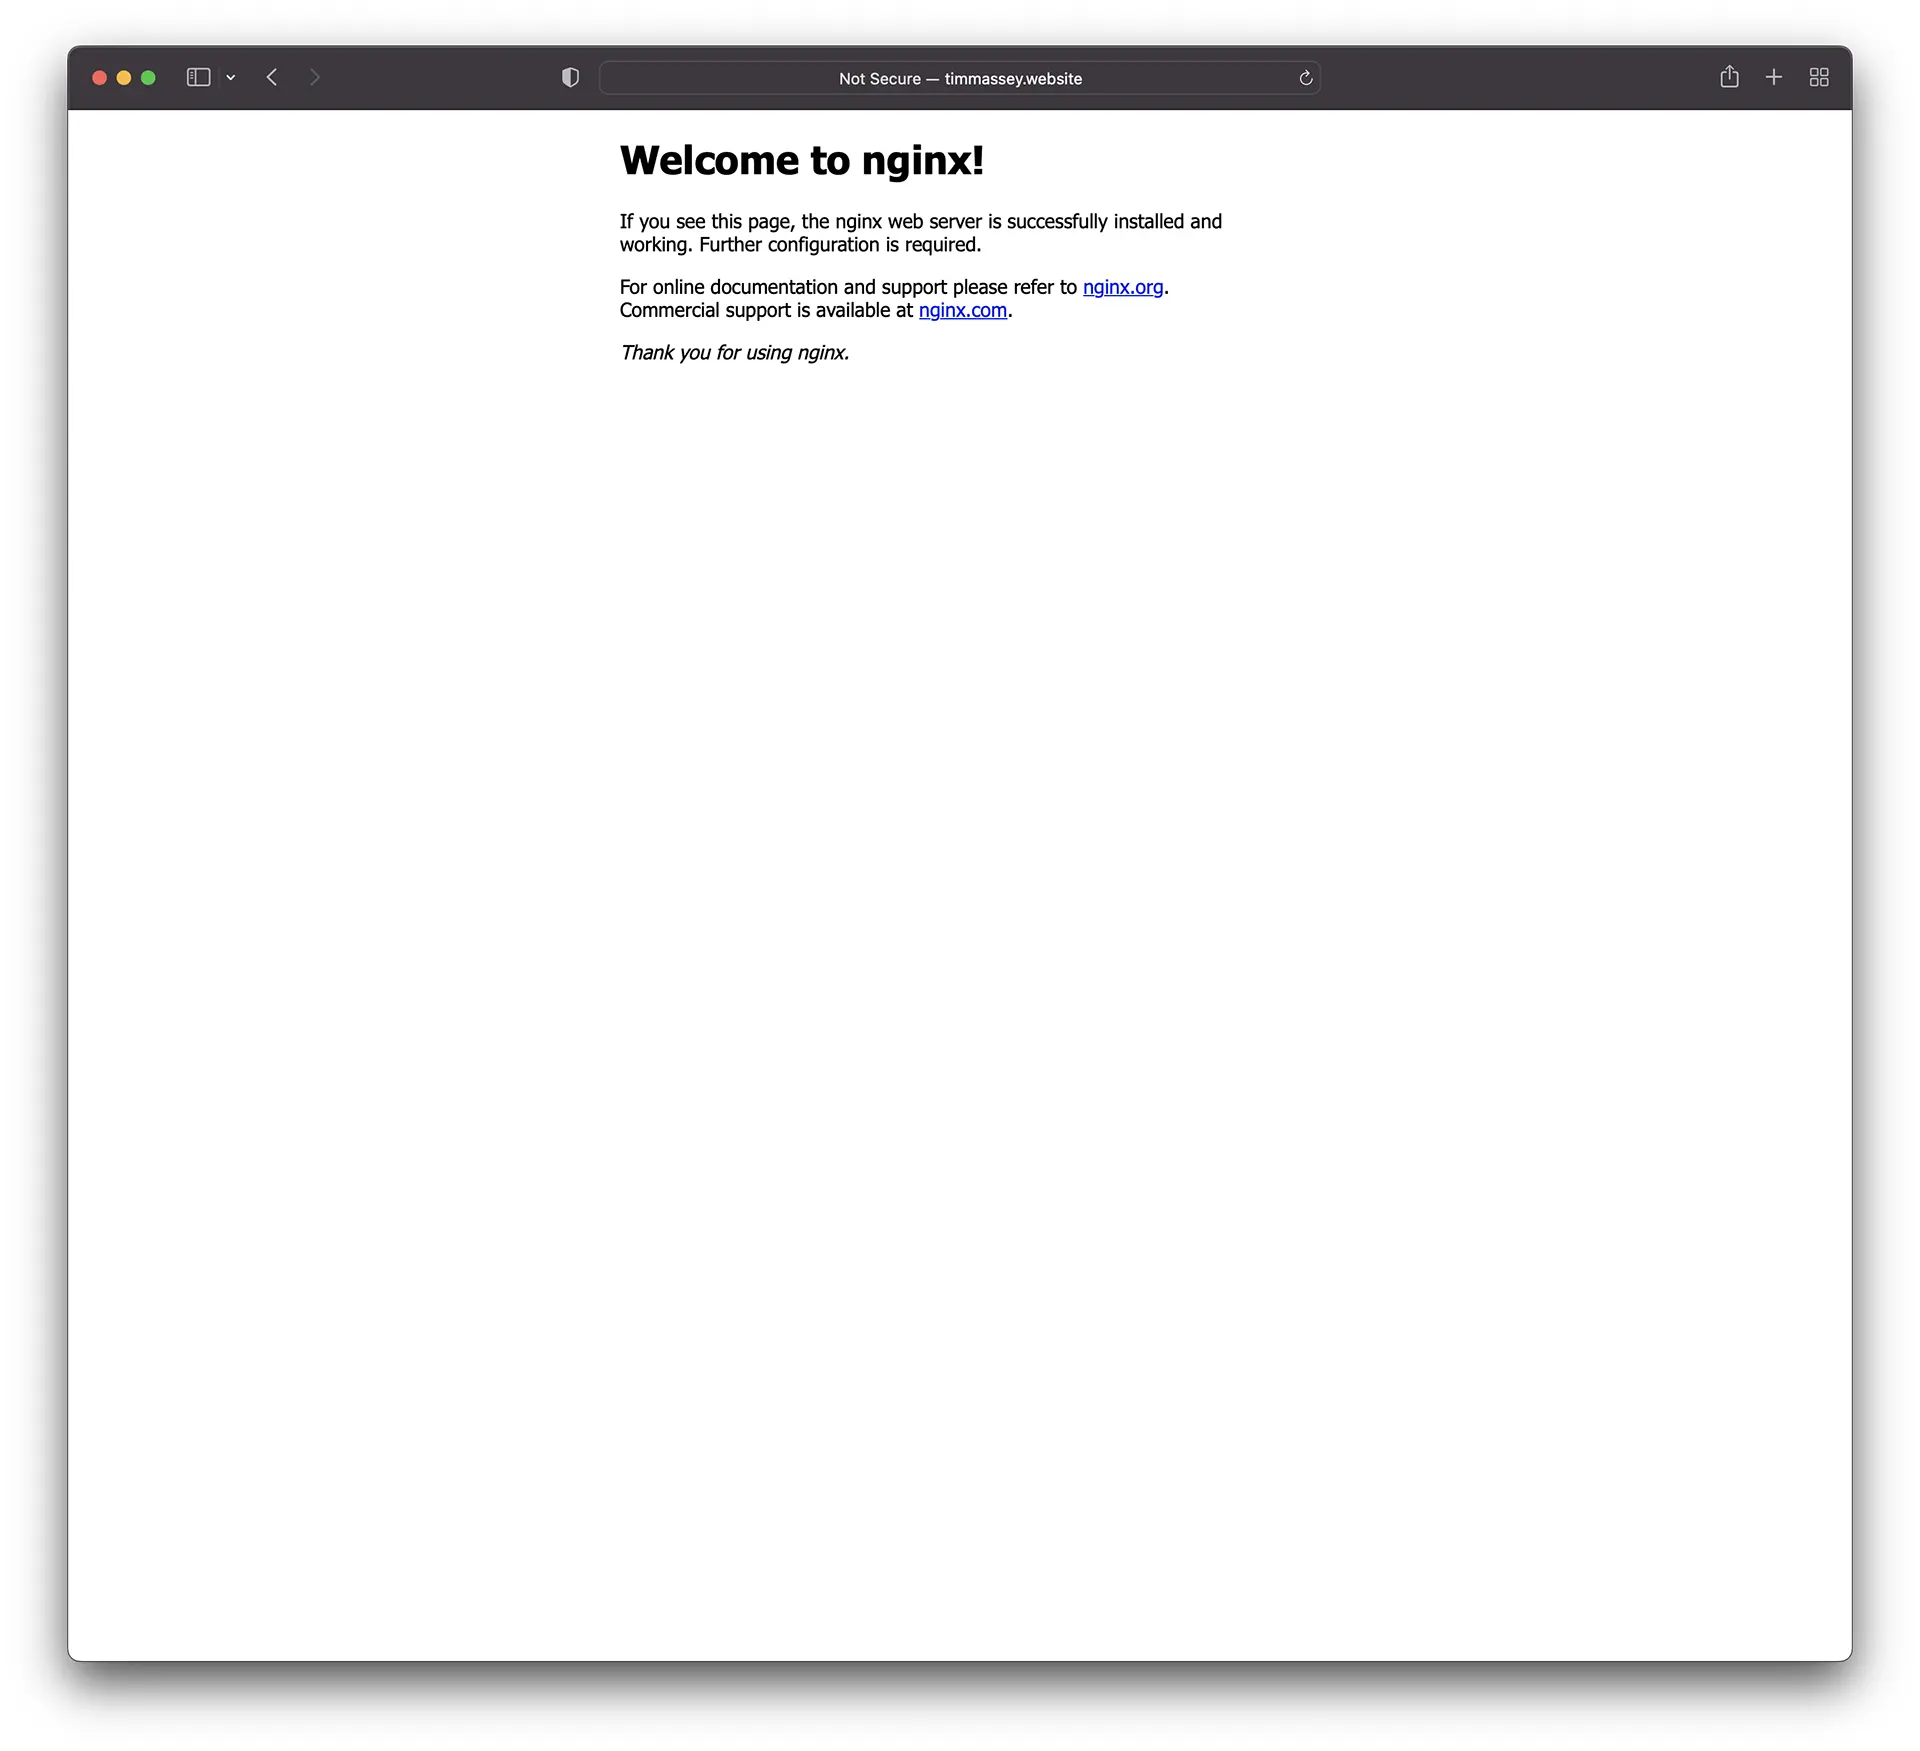
This is a satisfying milestone in the LEMP stack setup process as it shows that the web server is now live. It also concludes installing Nginx, and we’re ready to add the MySQL database component.
Notes and references