
DigitalOcean tutorial
I’ve referred to DigitalOcean’s tutorial How To Install WordPress with LEMP on Ubuntu 20.04[1] a couple of times in earlier posts in this series to ensure that our LEMP stack is ready to host the software. This section follows the tutorial to its conclusion.
Creating a database and database user account for WordPress
Although we’ve put the majority of the server infrastructure for WordPress in place when setting up our LEMP stack, we still need to create a database to store our eventual website’s content.
Log into the MariaDB monitor with:
sudo mysqlCreate your database for WordPress with the following command at the MariaDB [(none)]> prompt — you can name the database as you like:
CREATE DATABASE your_database_name;MariaDB responds with:
Query OK, 1 row affected (0.000 sec)Now we need to add a database username and password to access the one we just created. Again, you can pick any username you like and create a strong password using your favourite online password generator:
GRANT ALL ON your_database_name.* TO 'your_database_username'@'localhost' IDENTIFIED BY 'strong_password';To complete the process, enter:
FLUSH PRIVILEGES;And then:
EXIT;This takes us out of the MariaDB monitor and back to the system prompt. We’ve now finished setting up a database and user account to access it and can prepare the core WordPress files for installation.
Downloading and extracting WordPress
As recommended in DO’s guide,[2] we’re going to download, extract and prepare the core WordPress files in the /tmp directory before moving them to the webroot. Switch to this directory with:
cd /tmpNow download the latest version of WordPress from wordpress.org with:
curl -LO https://wordpress.org/latest.tar.gzThe downloaded latest.tar.gz file is a compressed version of the WordPress core files. Extract the files from it with:
tar xzvf latest.tar.gzThis extracts the files to /tmp/wordpress. These include a template configuration file called wp-config-sample.php. The active version of this file is named wp-config.php, and we’re going to create an active file to configure by renaming the sample one as follows:
mv /tmp/wordpress/wp-config-sample.php /tmp/wordpress/wp-config.phpWe can now move the contents of /tmp/wordpress to our webroot folder. Move the files with the following command — note that we need to use sudo again here because, while the /tmp directory we’ve been using to prepare the WordPress core files is writeable without root privileges, the webroot is not:
sudo cp -a /tmp/wordpress/. /var/www/your_domain_nameWe’ve finished working in /tmp now and can change back to our home directory with:
cd ~With all the core files now in place, we can configure WordPress to work with our database.
wp-config.php settings
Open the wp-config.php file with:
sudo nano /var/www/your_domain_name/wp-config.phpwp-config.php has plenty of comments to help you configure it correctly. Scroll down until your reach the following text:
...

// ** Database settings - You can get this info from your web host ** //
/** The name of the database for WordPress */
define('DB_NAME', 'database_name_here');

/** Database username */
define('DB_USER', 'username_here');

/** Database password */
define('DB_PASSWORD', 'password_here');

...
When you’re configuring a virtual private server, you’re the web host, and referrals to your service provider are often unwelcome as they amount to instructions to ask yourself for the information you don’t have. In this case, though, we’ve set up our WordPress database, user account, and password in the foregoing steps, so overtyping the database name, username, and password in the relevant places shouldn’t be difficult!
When you’ve entered these credentials, scroll down your wp-config.php file to the following section:
...

/**#@+
 * Authentication unique keys and salts.
 *
 * Change these to different unique phrases! You can generate these using
 * the {@link https://api.wordpress.org/secret-key/1.1/salt/ WordPress.org secret-key service}.
 *
 * You can change these at any point in time to invalidate all existing cookies.
 * This will force all users to have to log in again.
 *
 * @since 2.6.0
 */
define( 'AUTH_KEY',         'put your unique phrase here' );
define( 'SECURE_AUTH_KEY',  'put your unique phrase here' );
define( 'LOGGED_IN_KEY',    'put your unique phrase here' );
define( 'NONCE_KEY',        'put your unique phrase here' );
define( 'AUTH_SALT',        'put your unique phrase here' );
define( 'SECURE_AUTH_SALT', 'put your unique phrase here' );
define( 'LOGGED_IN_SALT',   'put your unique phrase here' );
define( 'NONCE_SALT',       'put your unique phrase here' );

/**#@-*/

...
DO’s tutorial[3] recommends generating unique AUTH_KEY and AUTH_SALT phrases over SSH with the following command:
curl -s https://api.wordpress.org/secret-key/1.1/salt/This displays the authentication credentials in your console window for you to copy and paste into wp-config.php. I found it easier, though, to open https://api.wordpress.org/secret-key/1.1/salt/ in a browser and copy the phrases from there.
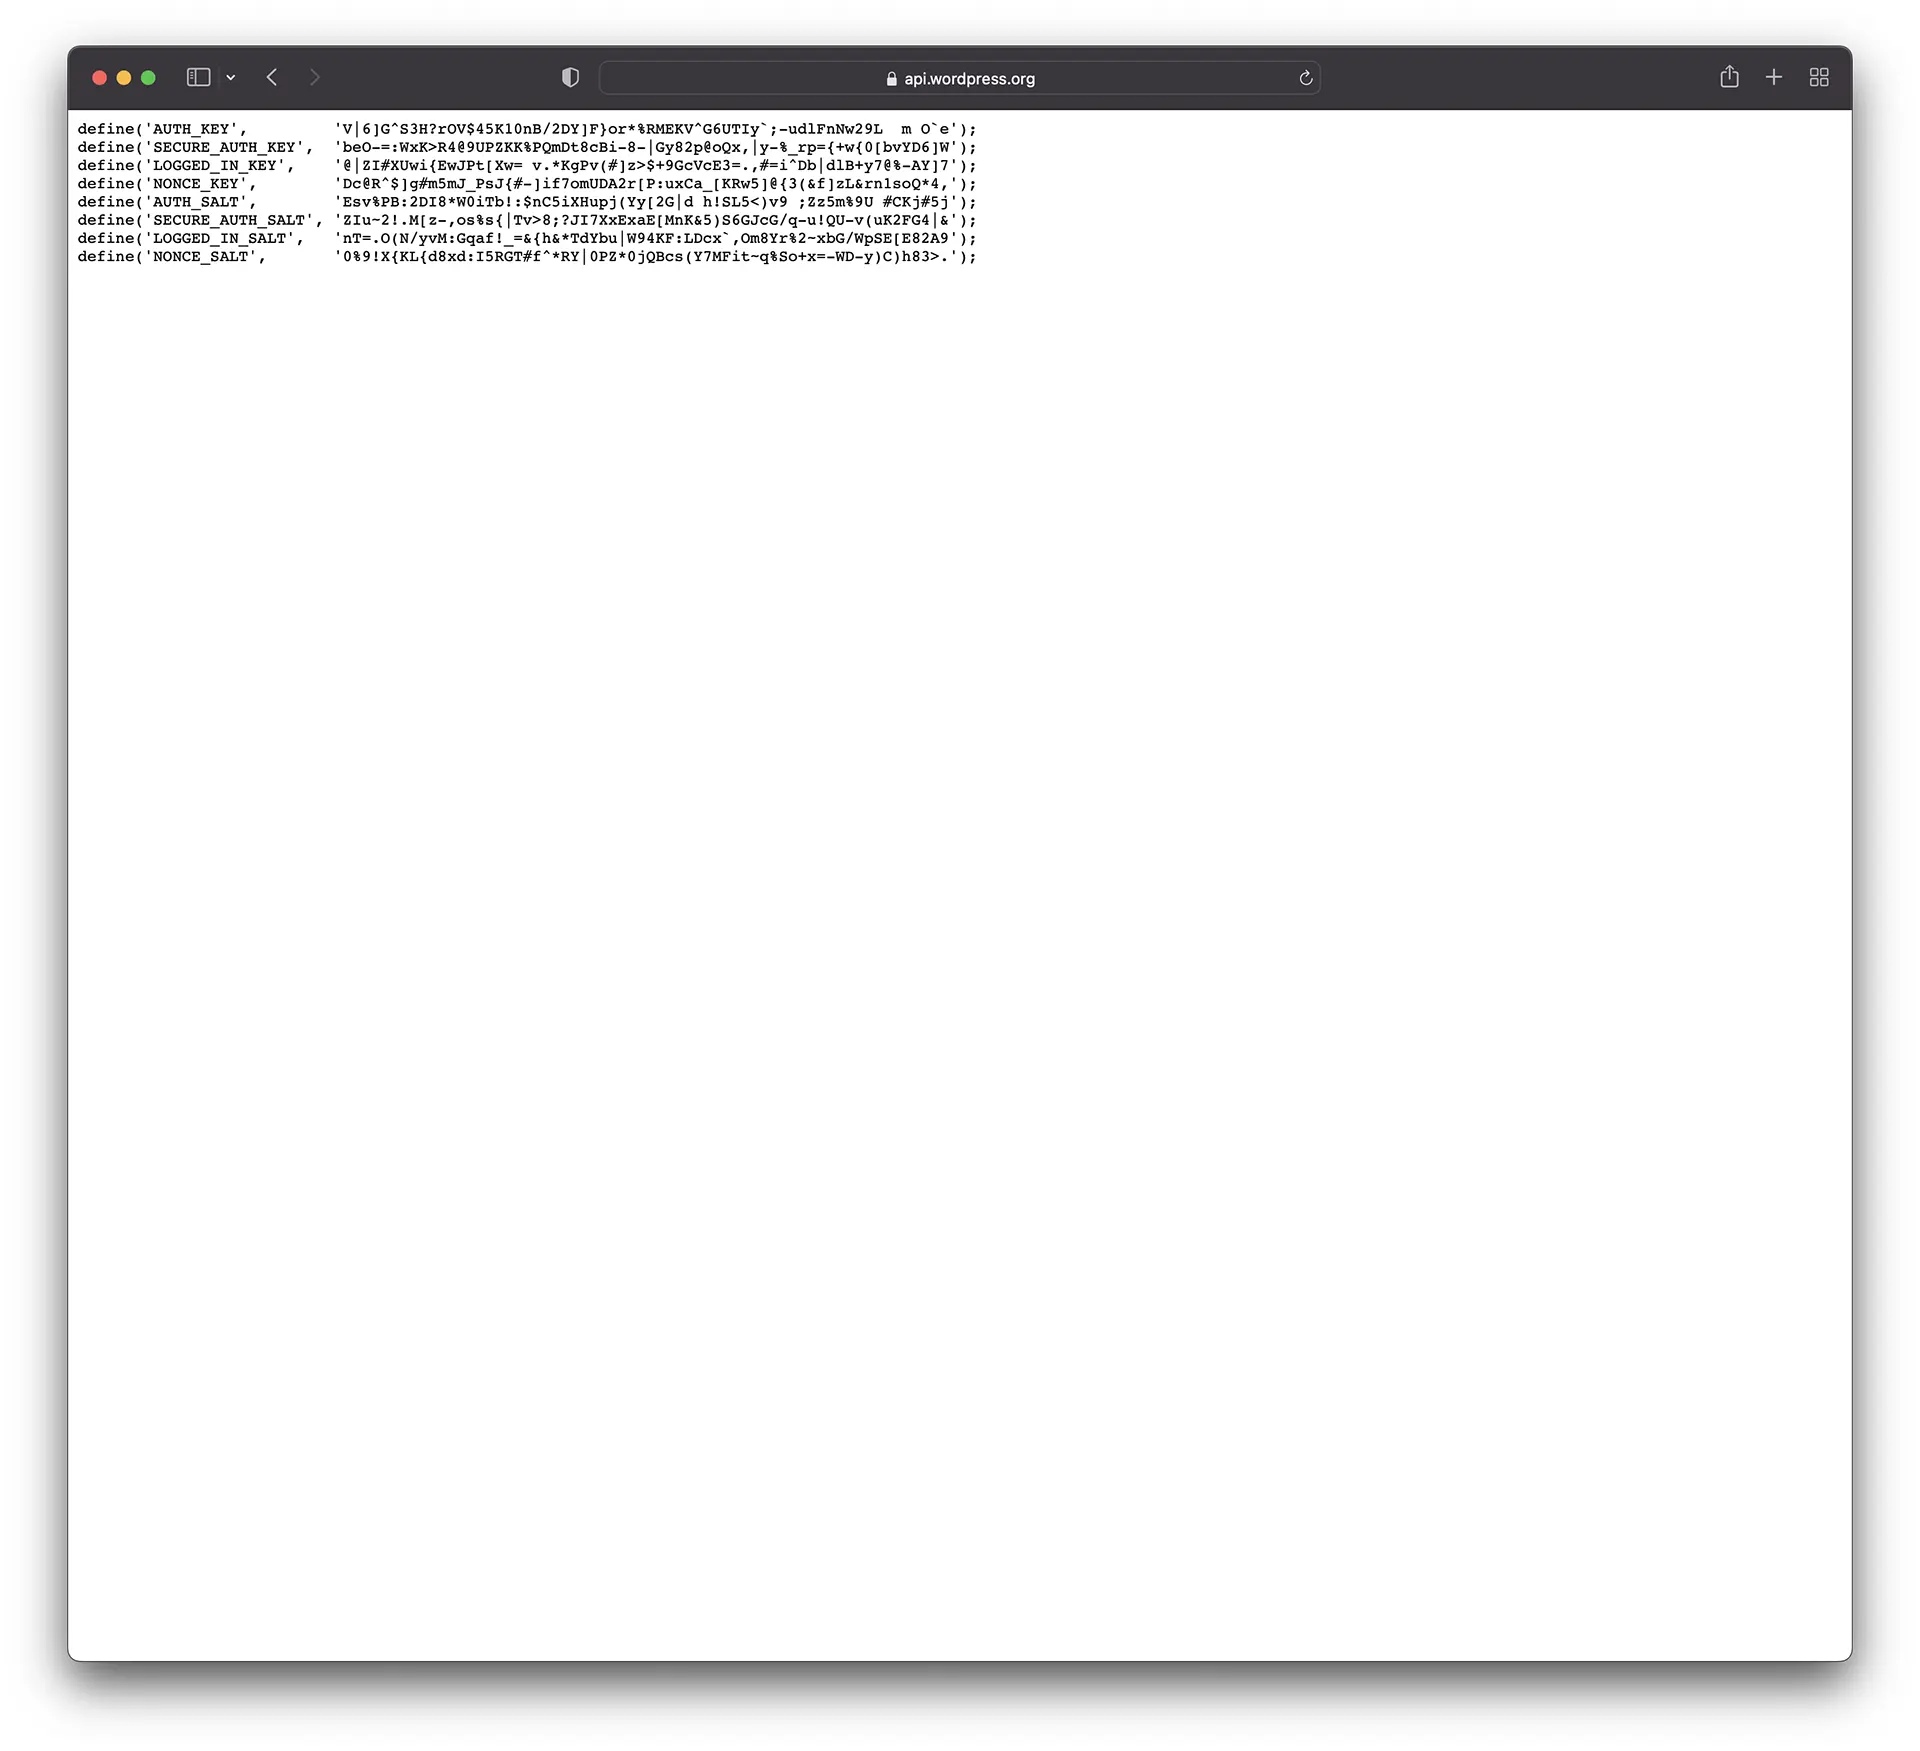
Editing wp-config.php in nano, I also found it simplest to cut the lines beginning with define by positioning the cursor on the first of these lines and pressing Ctrl and K eight times. This leaves the keys and salts section of wp-config.php clear to paste the ones you generate using one of the above methods.
After pasting the keys into wp-config.php, save the file and exit nano by pressing Ctrl and X and hitting return.
The ‘famous five-minute WordPress installation process’
Entering your domain name in a browser should now show the following language selection webpage:
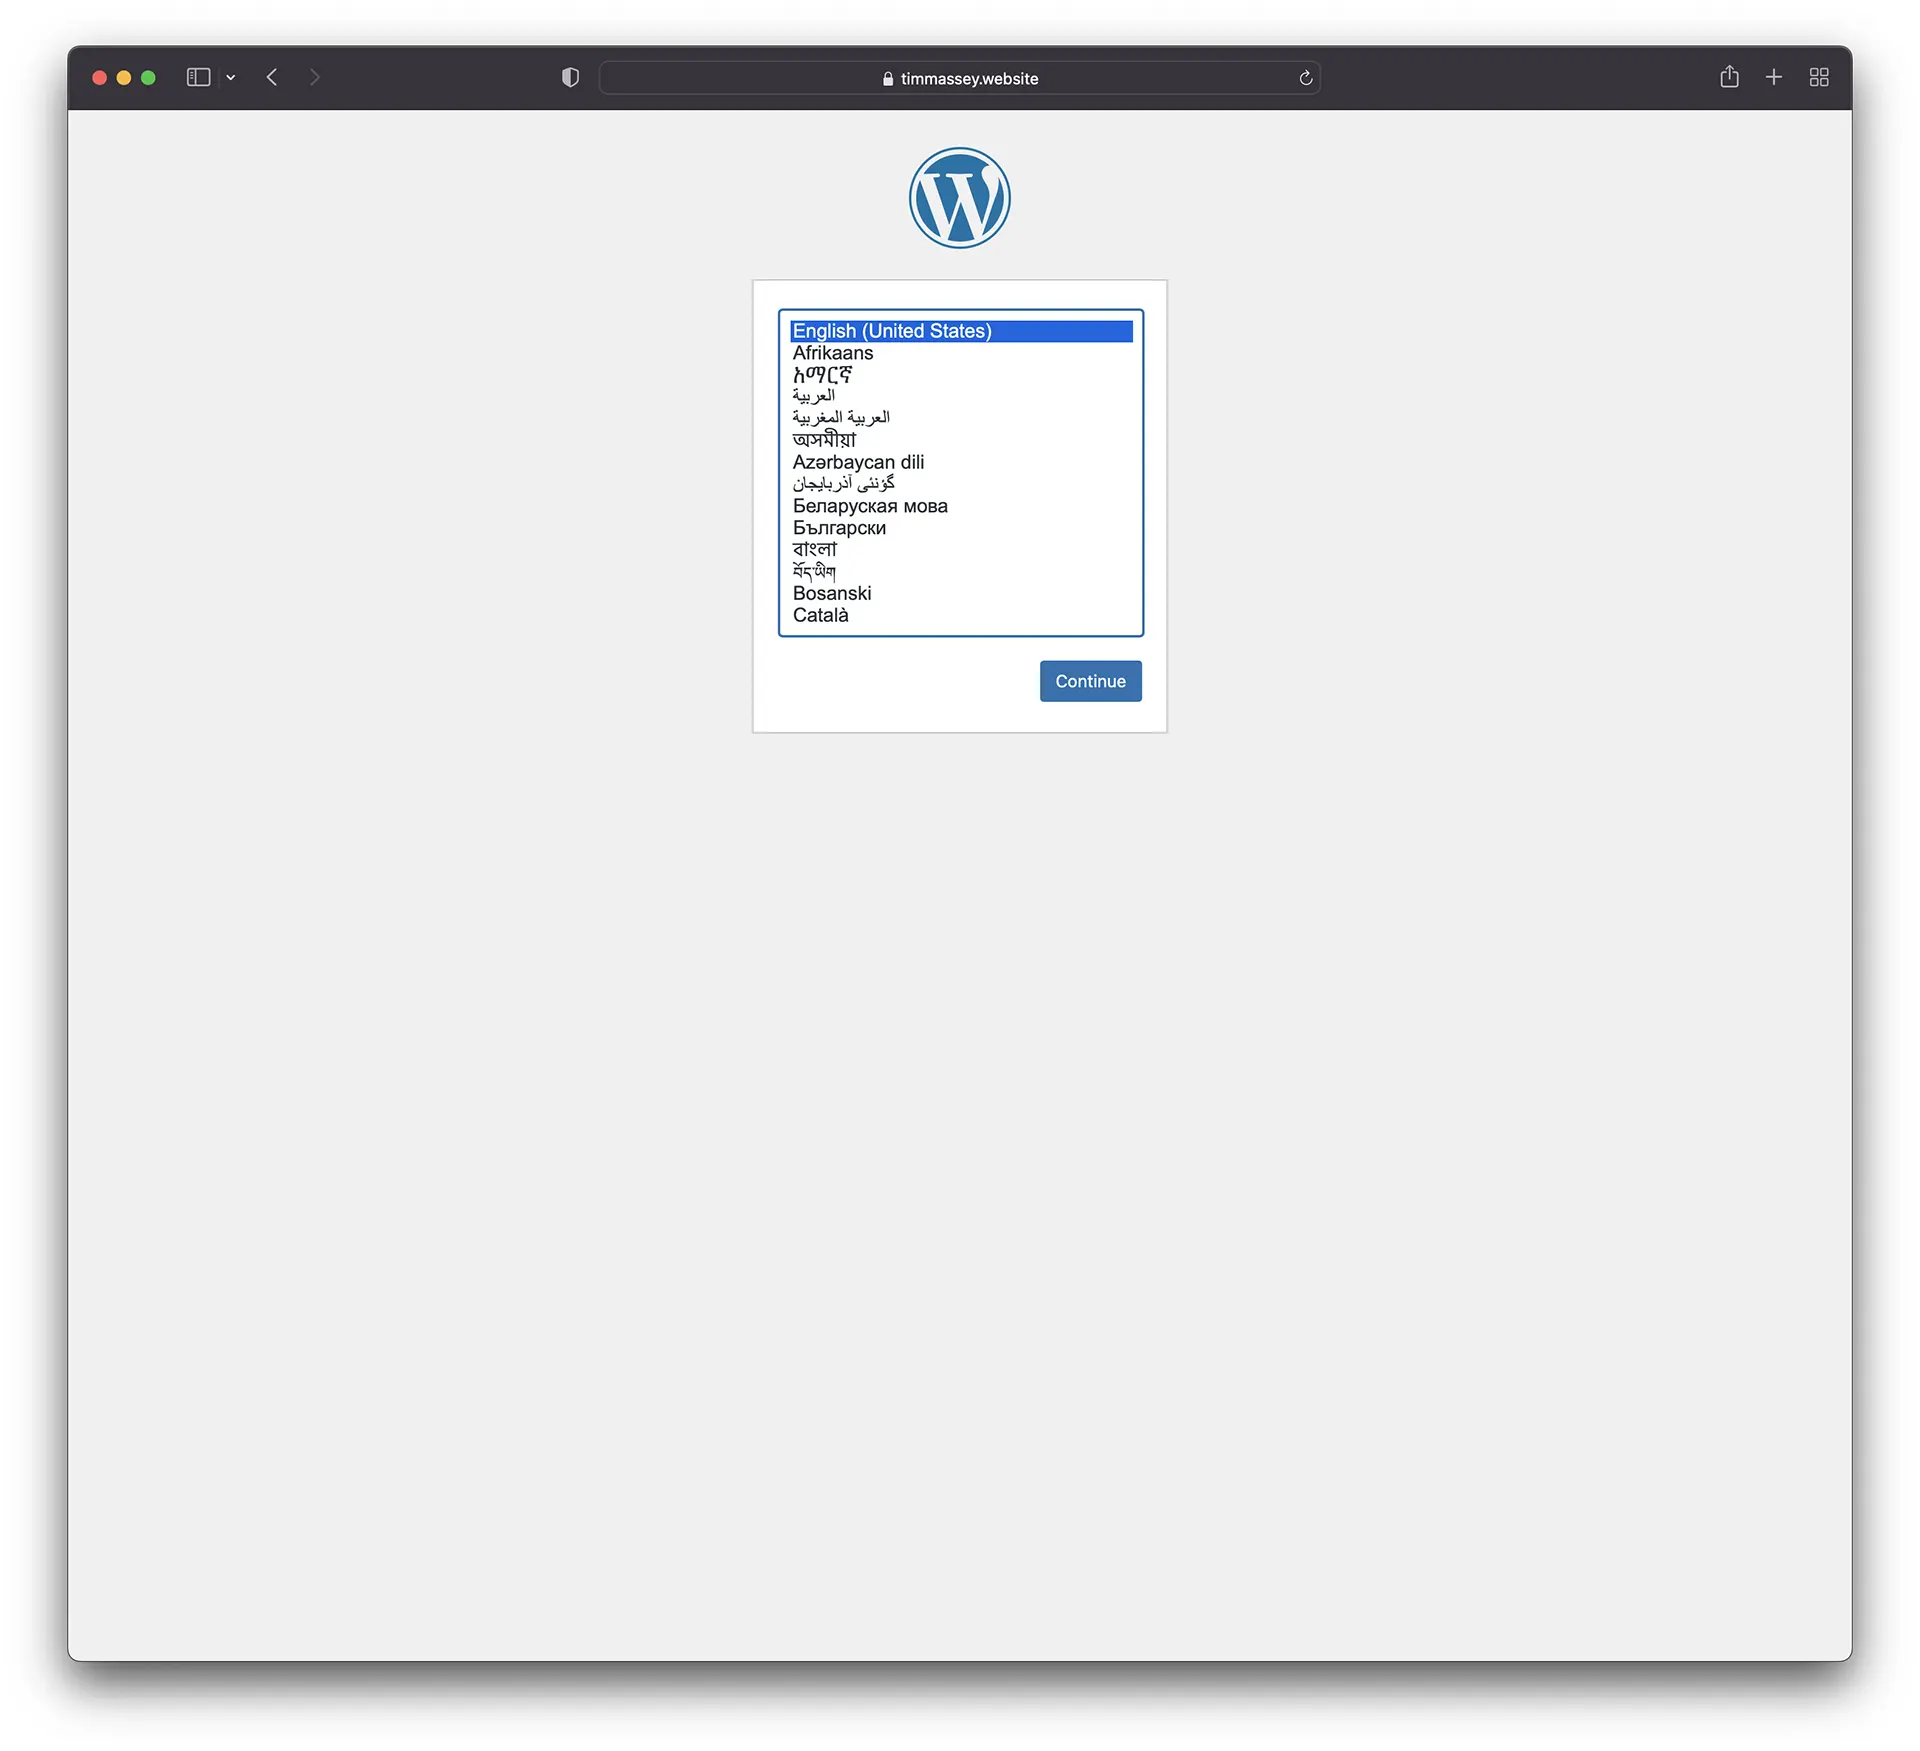
After selecting your site’s native language, click ‘Continue’ to launch the ‘famous five-minute WordPress installation process’:
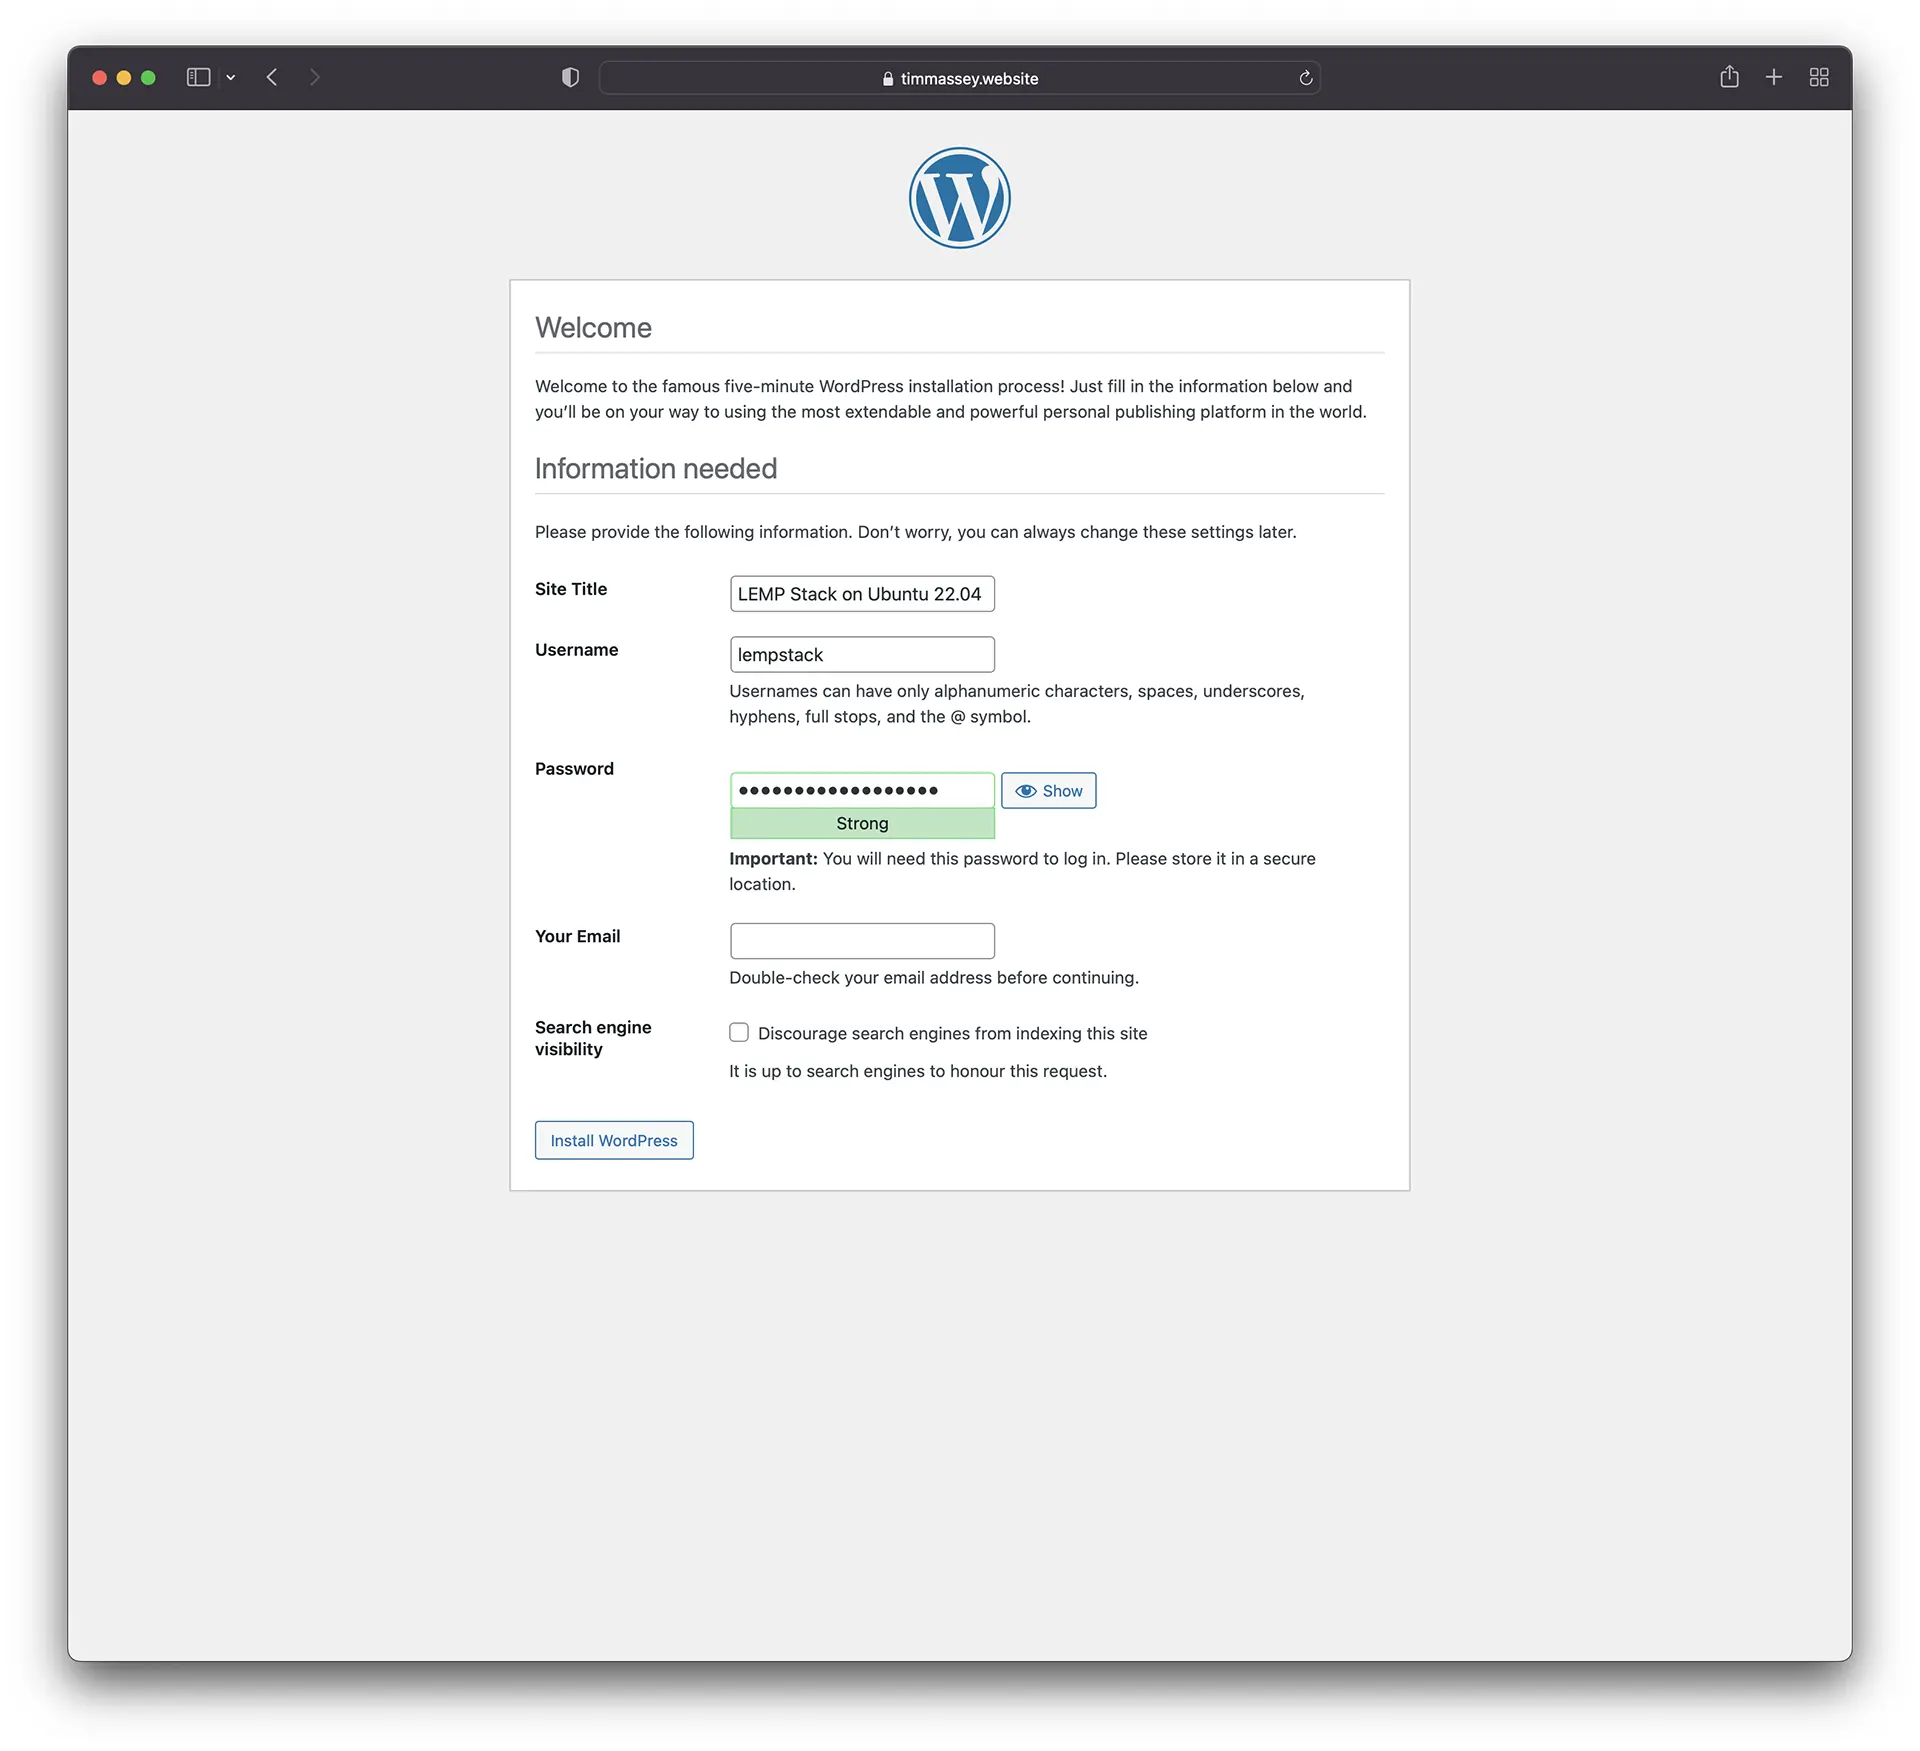
Complete the installation details, choosing a name for your new site and a username, keeping a copy of the password generated automatically by WordPress to log in after completing the process. Finally, enter the email address you want to use with the site and check the ‘Discourage search engines from indexing this site’ box if you want to keep a low profile (it’s probably best to do this until you finish developing your site). When you’re done, click ‘Install WordPress’, and you should see the following success page:
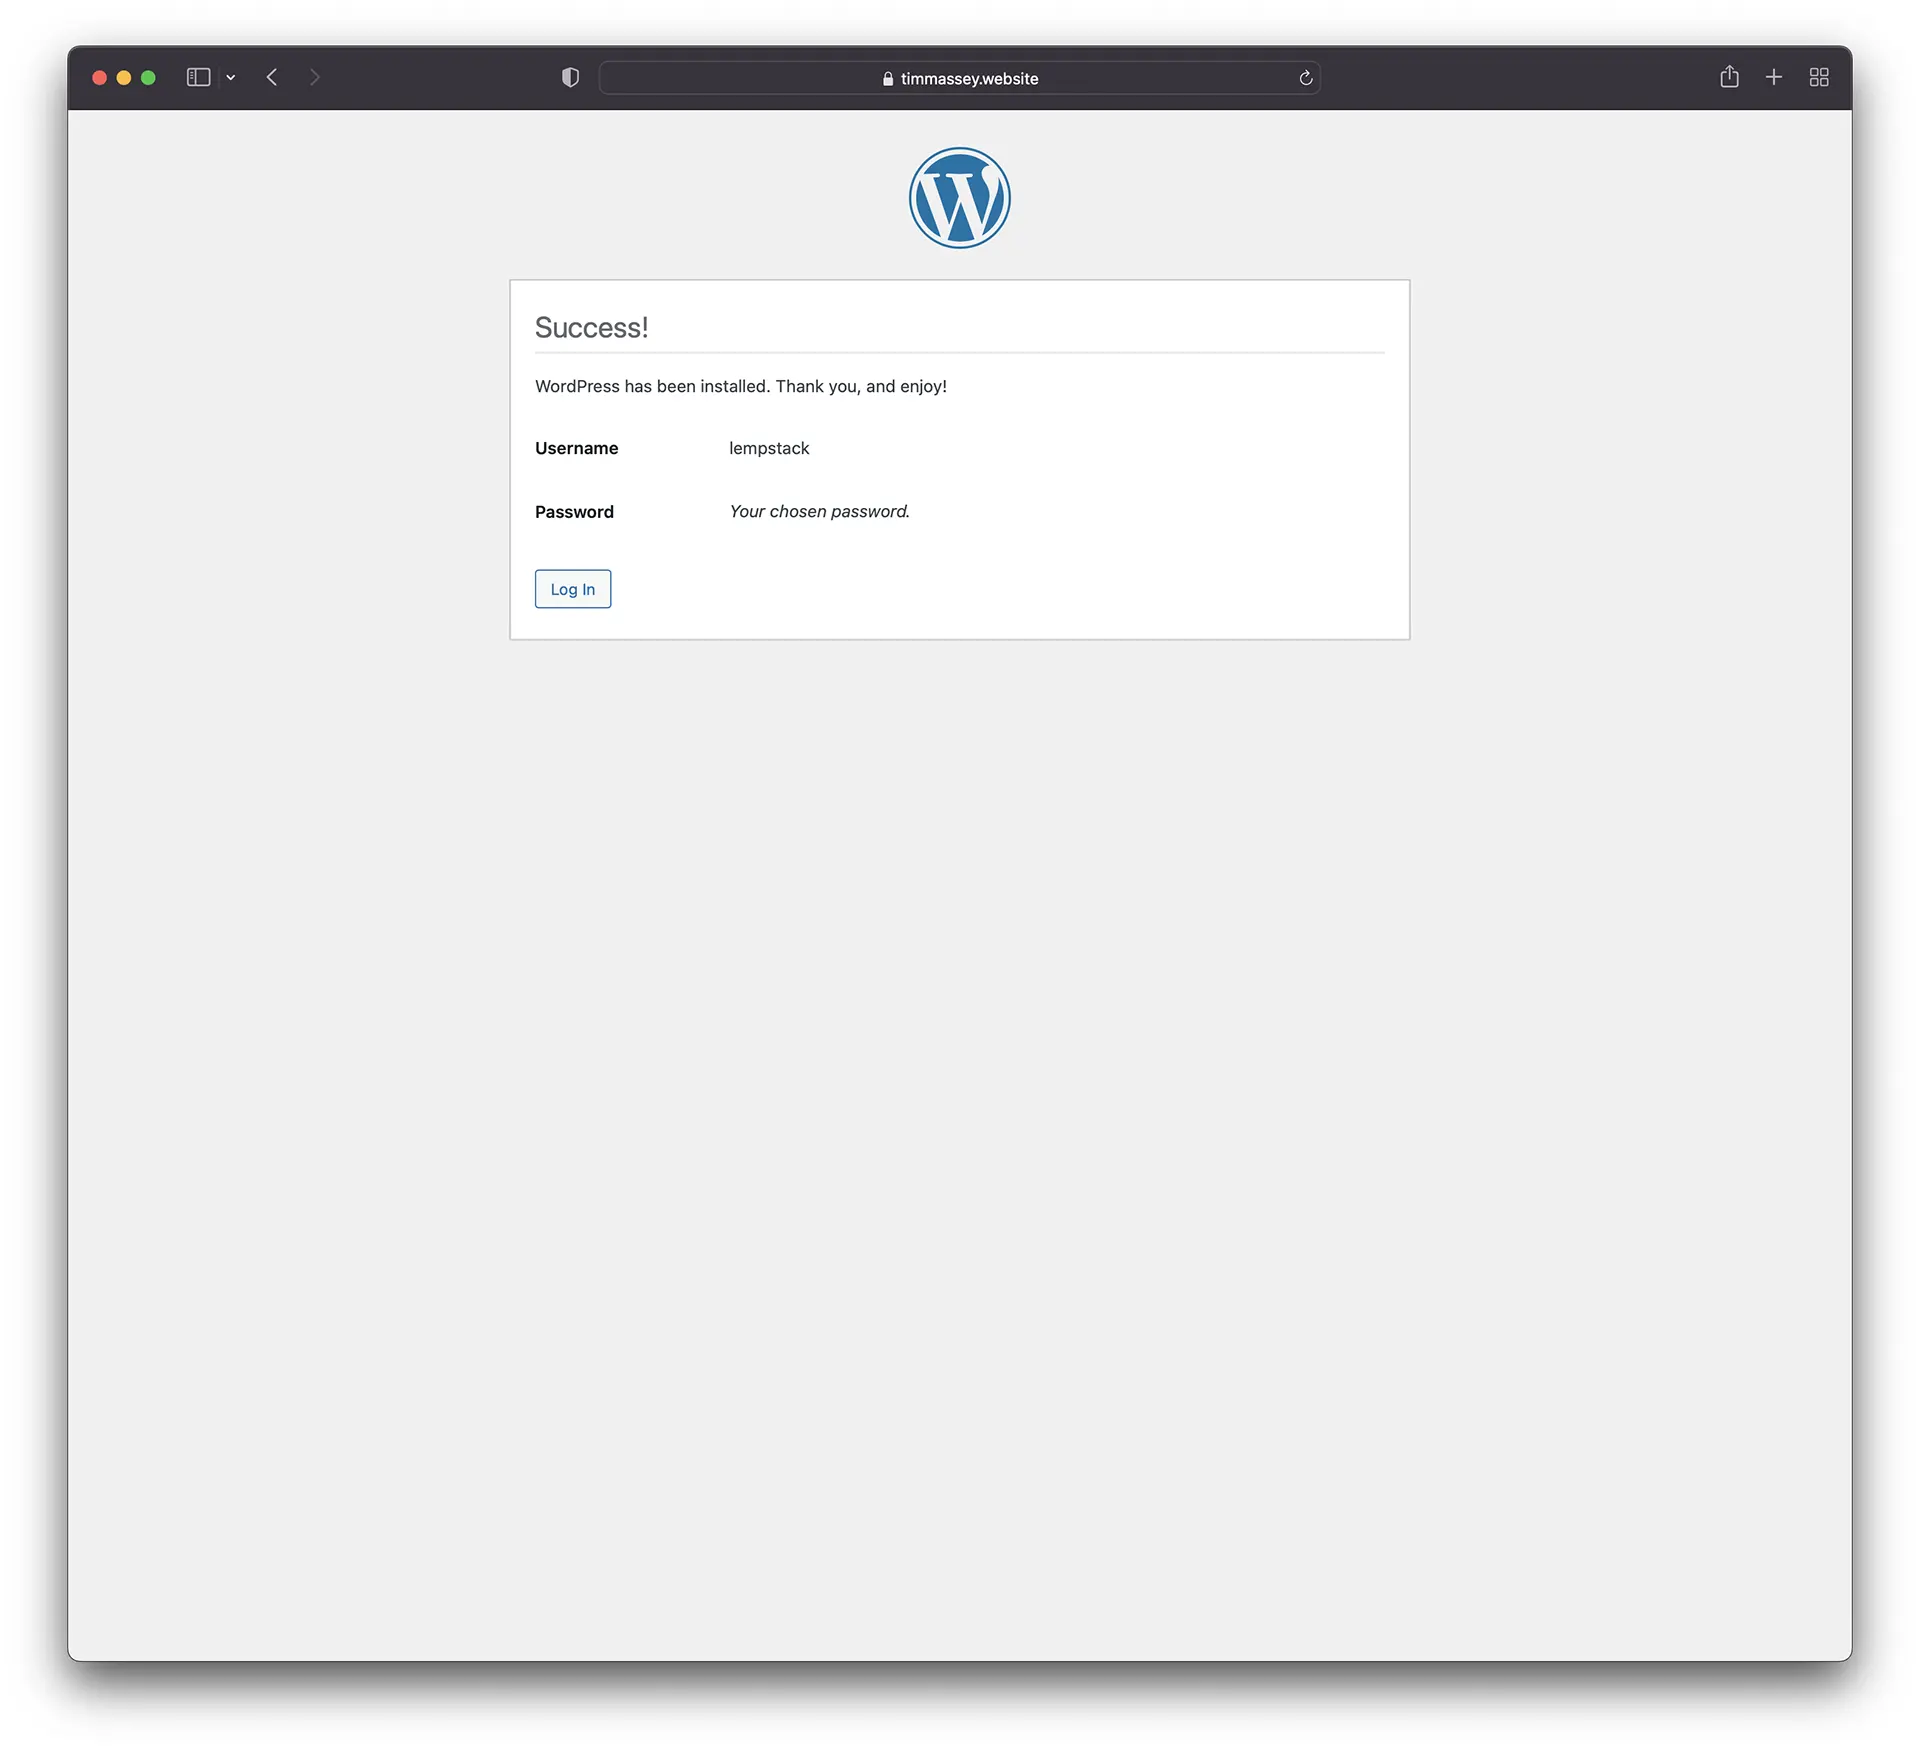
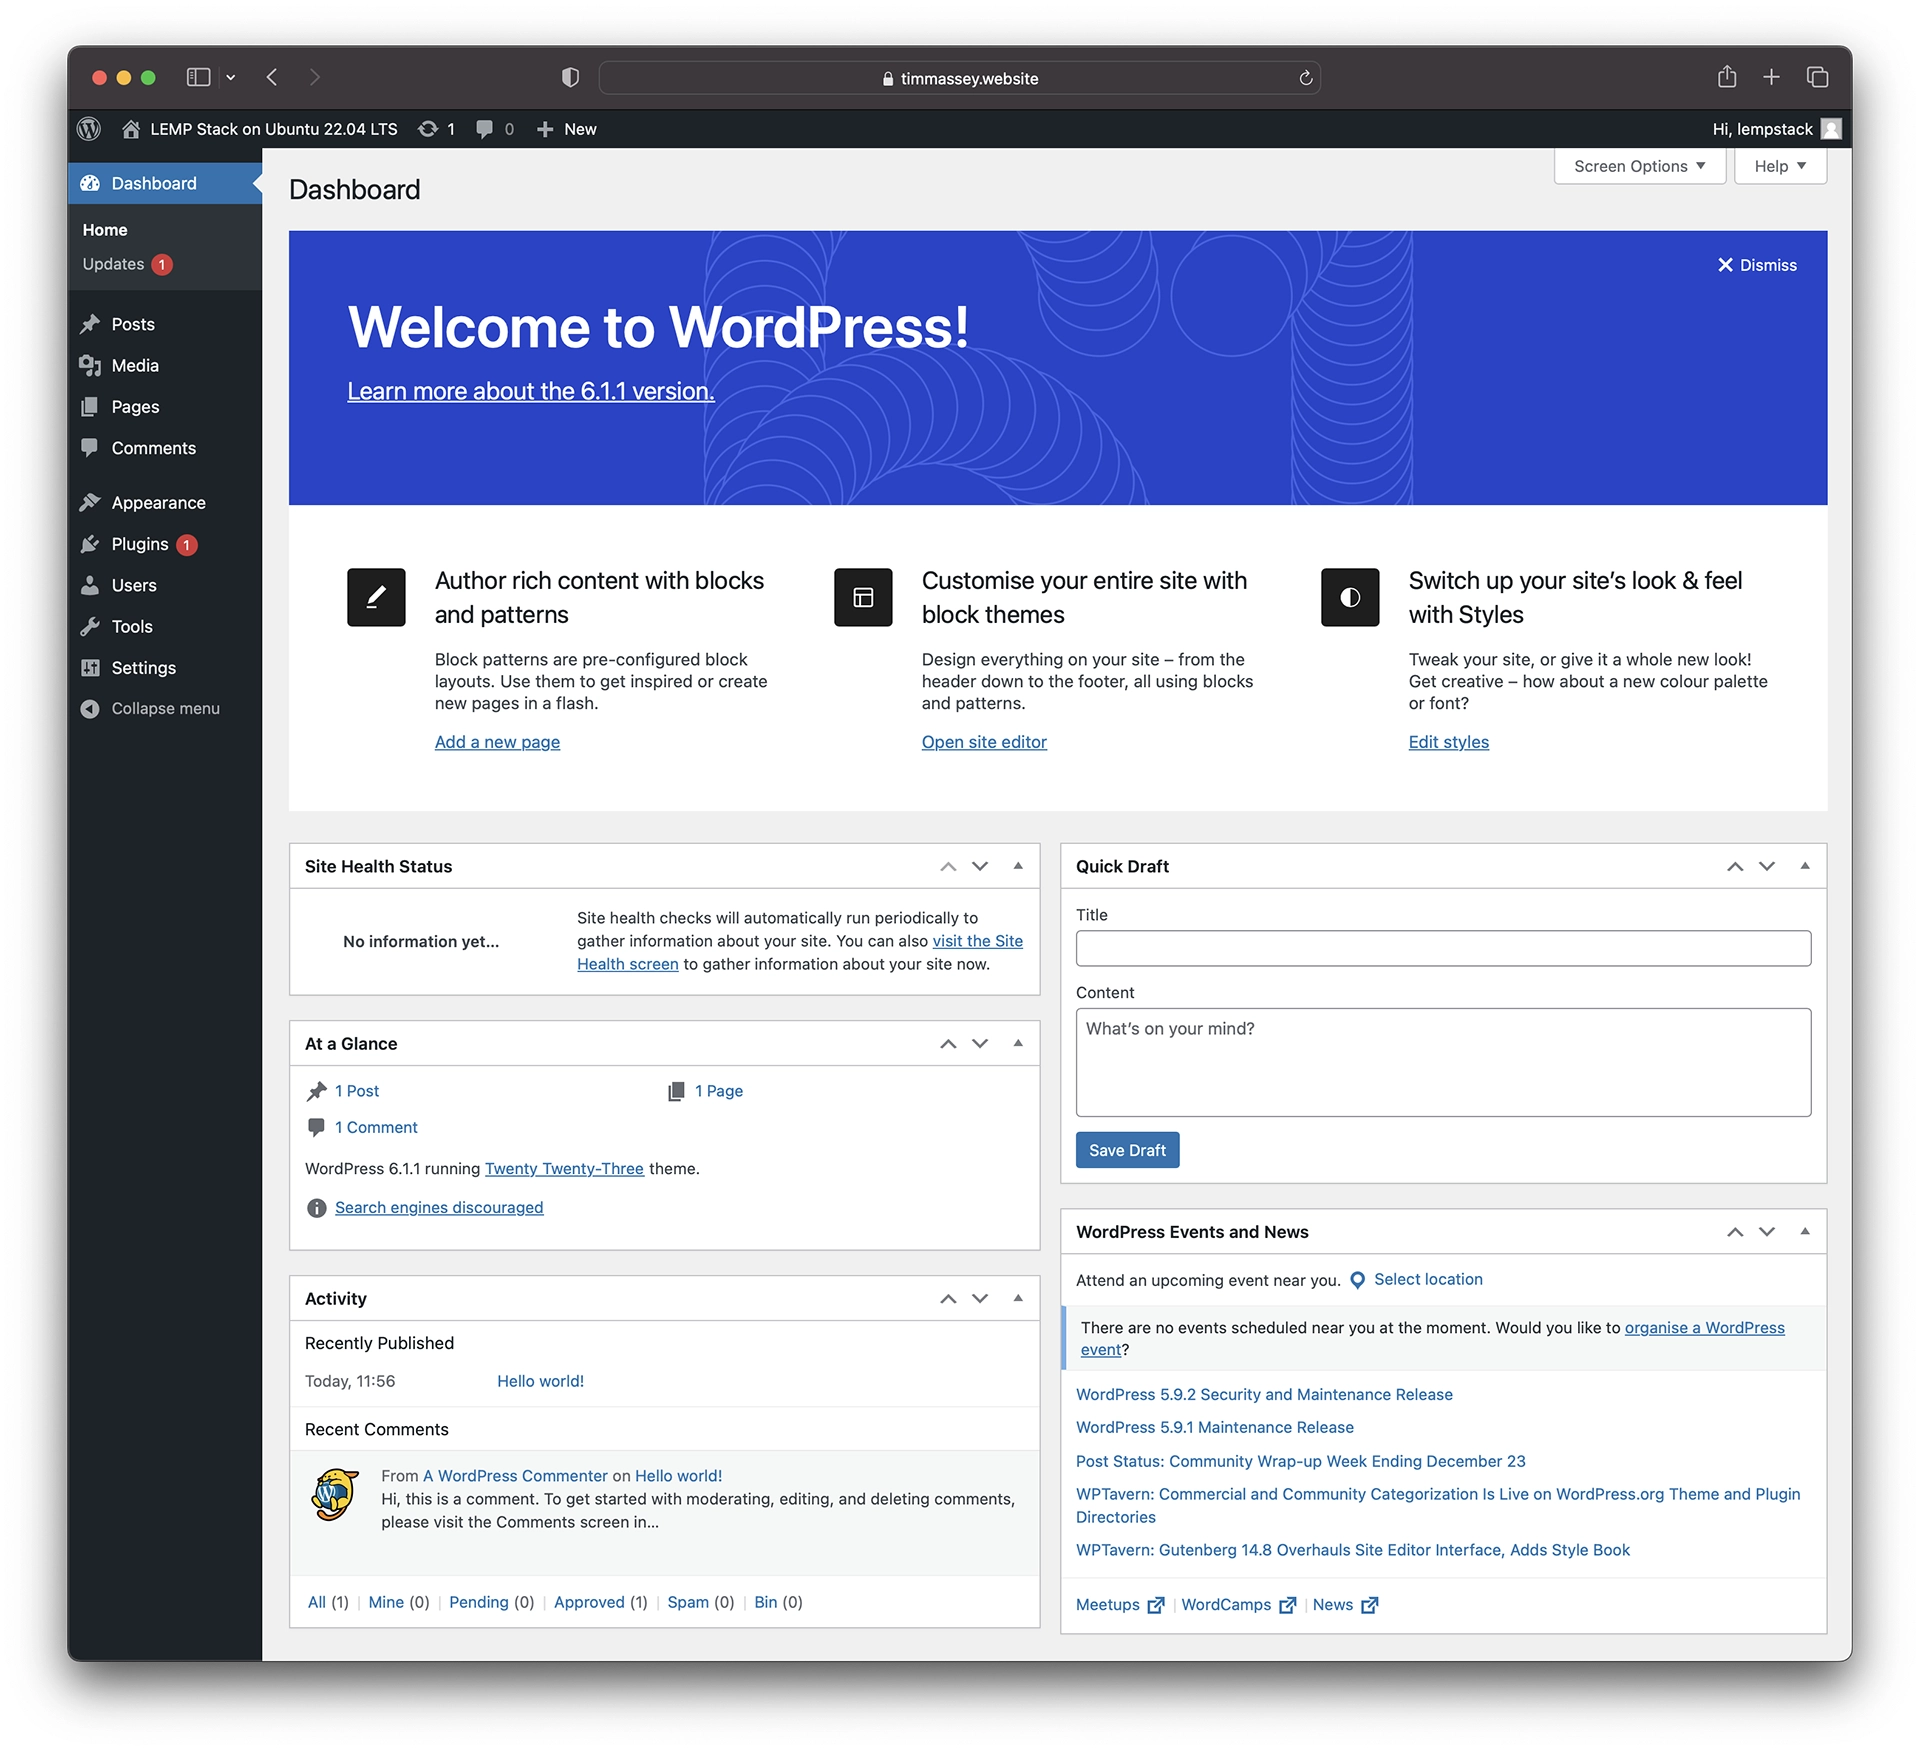
Clicking ‘Log In’ brings you to your WordPress login page (https://your_domain_name/wp-login.php). Sign in with the username and password you set above to access the default dashboard:
Your browser should also load the default ‘Hello world!’ WordPress site if you enter your domain name in its address bar:
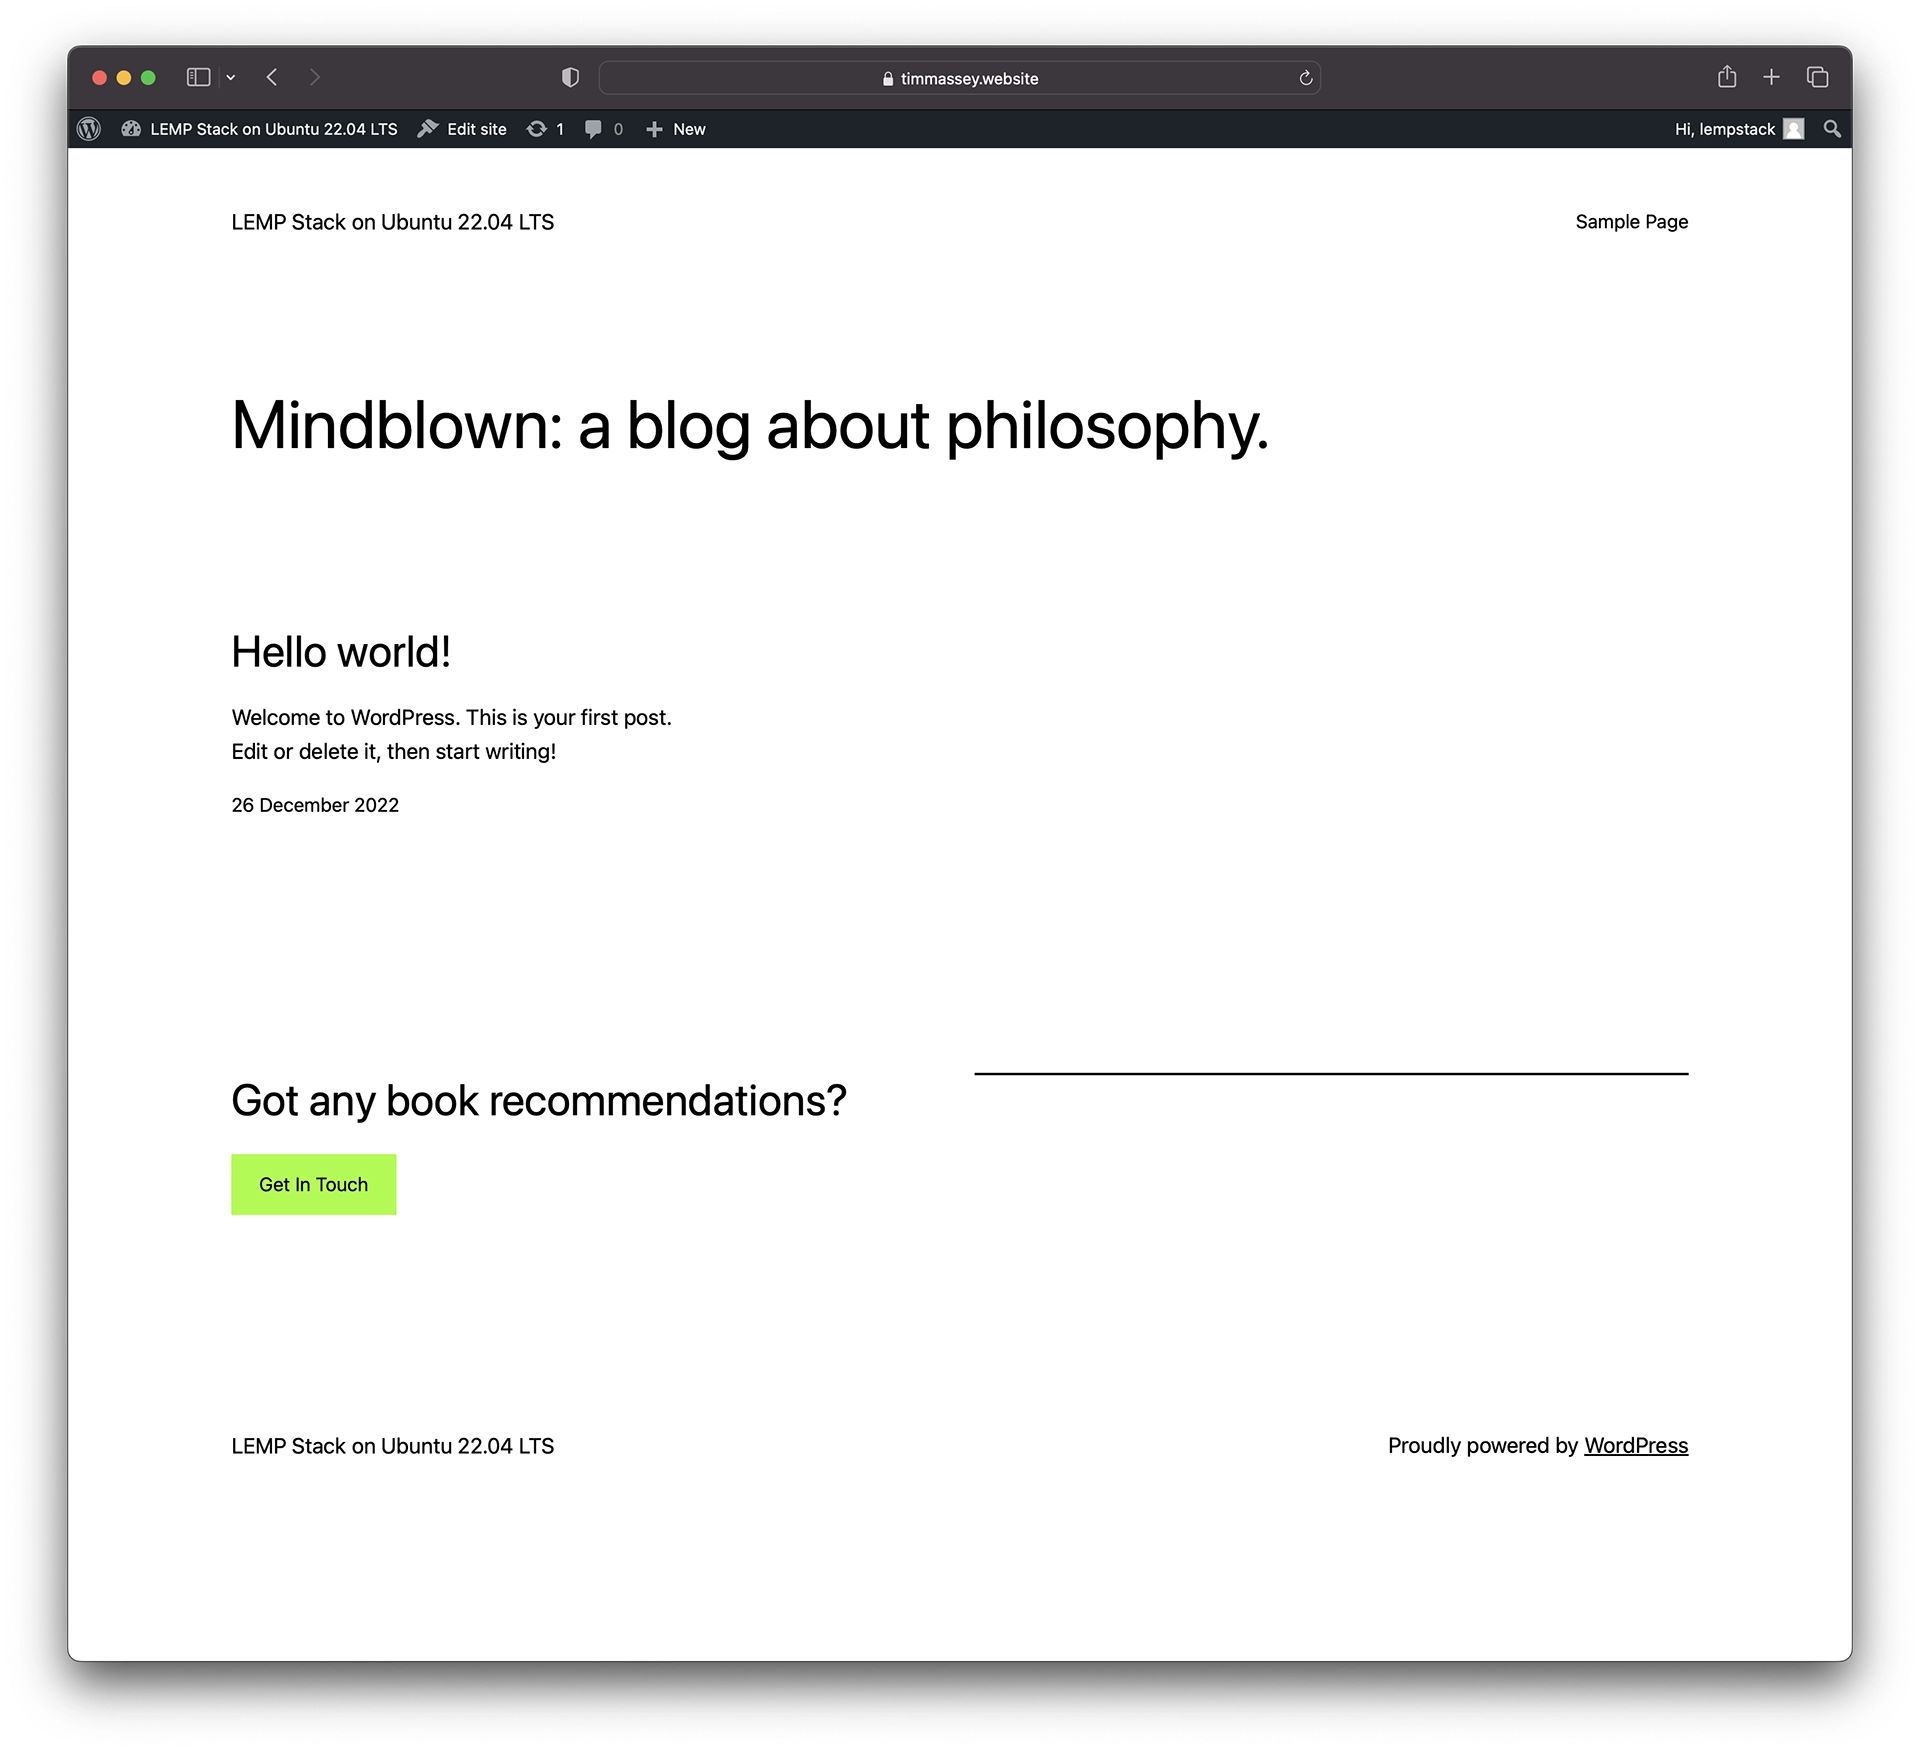
You now have WordPress running on a LEMP stack.
A first site health check
Use the native ‘Site Health Status’ feature on the dashboard to highlight any shortcomings in your WordPress installation. This will show if the LEMP stack’s components or configuration need tweaking to better support WordPress — Site Health Status indicates, for example, if PHP lacks any required components or if the server is not secured properly. Click the ‘visit the Site Health screen’ link in the Site Health Status panel on the dashboard to see the vital signs:
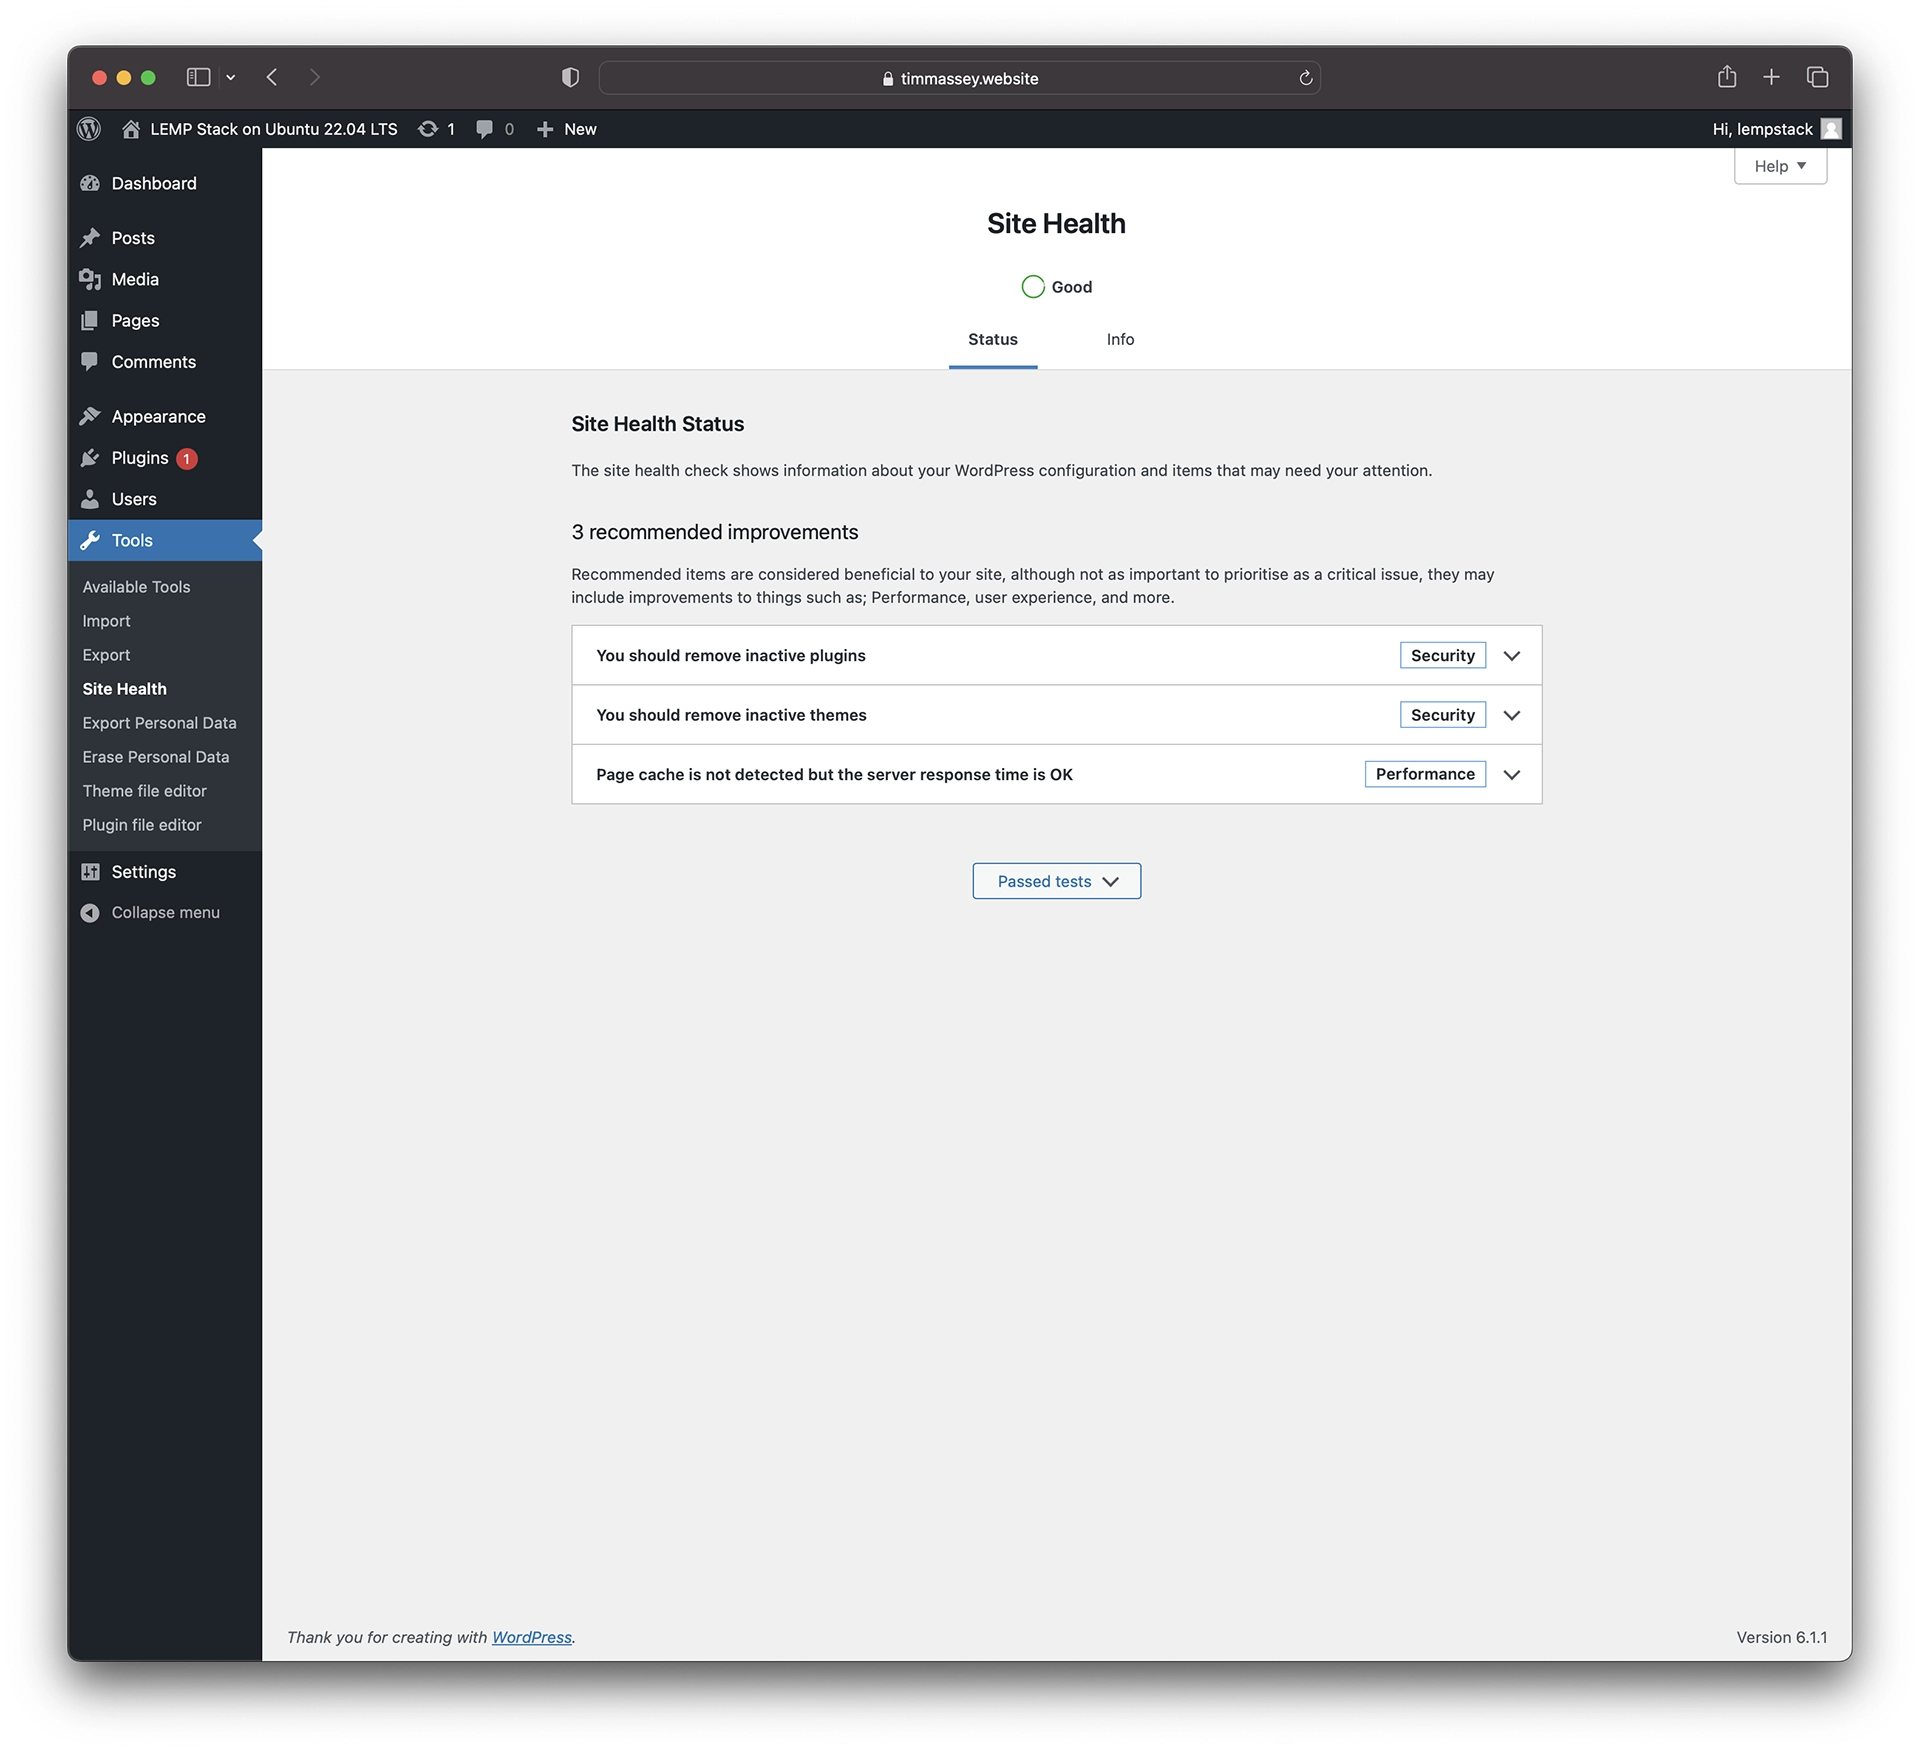
As this screenshot shows, a clean WordPress installation requires a number of improvements because of the plugins and themes bundled with the core files and to help improve its performance. The plugins are Akismet Spam Protection[4] and Hello Dolly,[5] and the installation package includes the three most recent default themes — Twenty Twenty-One,[6], Twenty Twenty-Two[7] and Twenty Twenty-Three[8] at the time of writing.
Making the recommended improvements to the plugins is a straightforward matter of activating or deleting Akismet and Hello Dolly in the Installed Plugins dashboard under the Plugins menu on the left — if you invest in an Akismet subscription, you’ll need to activate its plugin, and your decision to activate or delete Hello Dolly depends on your need to see random lyrics from the eponymous jazz number displayed in your admin screens.
Fixing the themes ‘health’ issue is a little more complicated. The Site Health Status check likes you to have at least one default theme installed so that, should you face errors with your non-default theme, you can restore your site to ‘factory’ settings for troubleshooting. The Themes dashboard in the Appearance menu doesn’t have links to delete installed themes in the same way it allows you to remove plugins and it’s necessary to remove them outside WordPress. I deleted the Twenty Twenty-One and Twenty Twenty-Two theme directories with the following command:
sudo rm -rf /var/www/your_domain_name/wp-content/themes/twentytwentyone /var/www/your_domain_name/wp-content/themes/twentytwentytwoImproving the site’s performance with ‘page cache’ requires the installation of a caching plugin. These plugins create and serve static HTML files of your site’s content as your users visit its various pages. If page caching is not in place, WordPress needs to generate each page dynamically every time it’s visited. This entails the server constructing pages via PHP by drawing formatting from your active theme’s directory and populating the page structure with content from the database. Having done this, it assembles pages as HTML files to serve in users’ browsers. Page caching keeps copies of already-generated HTML files to serve when the relevant pages are called so that the server doesn’t need to work through the generation process every time, making for more efficient use of server resources and faster delivery of content.
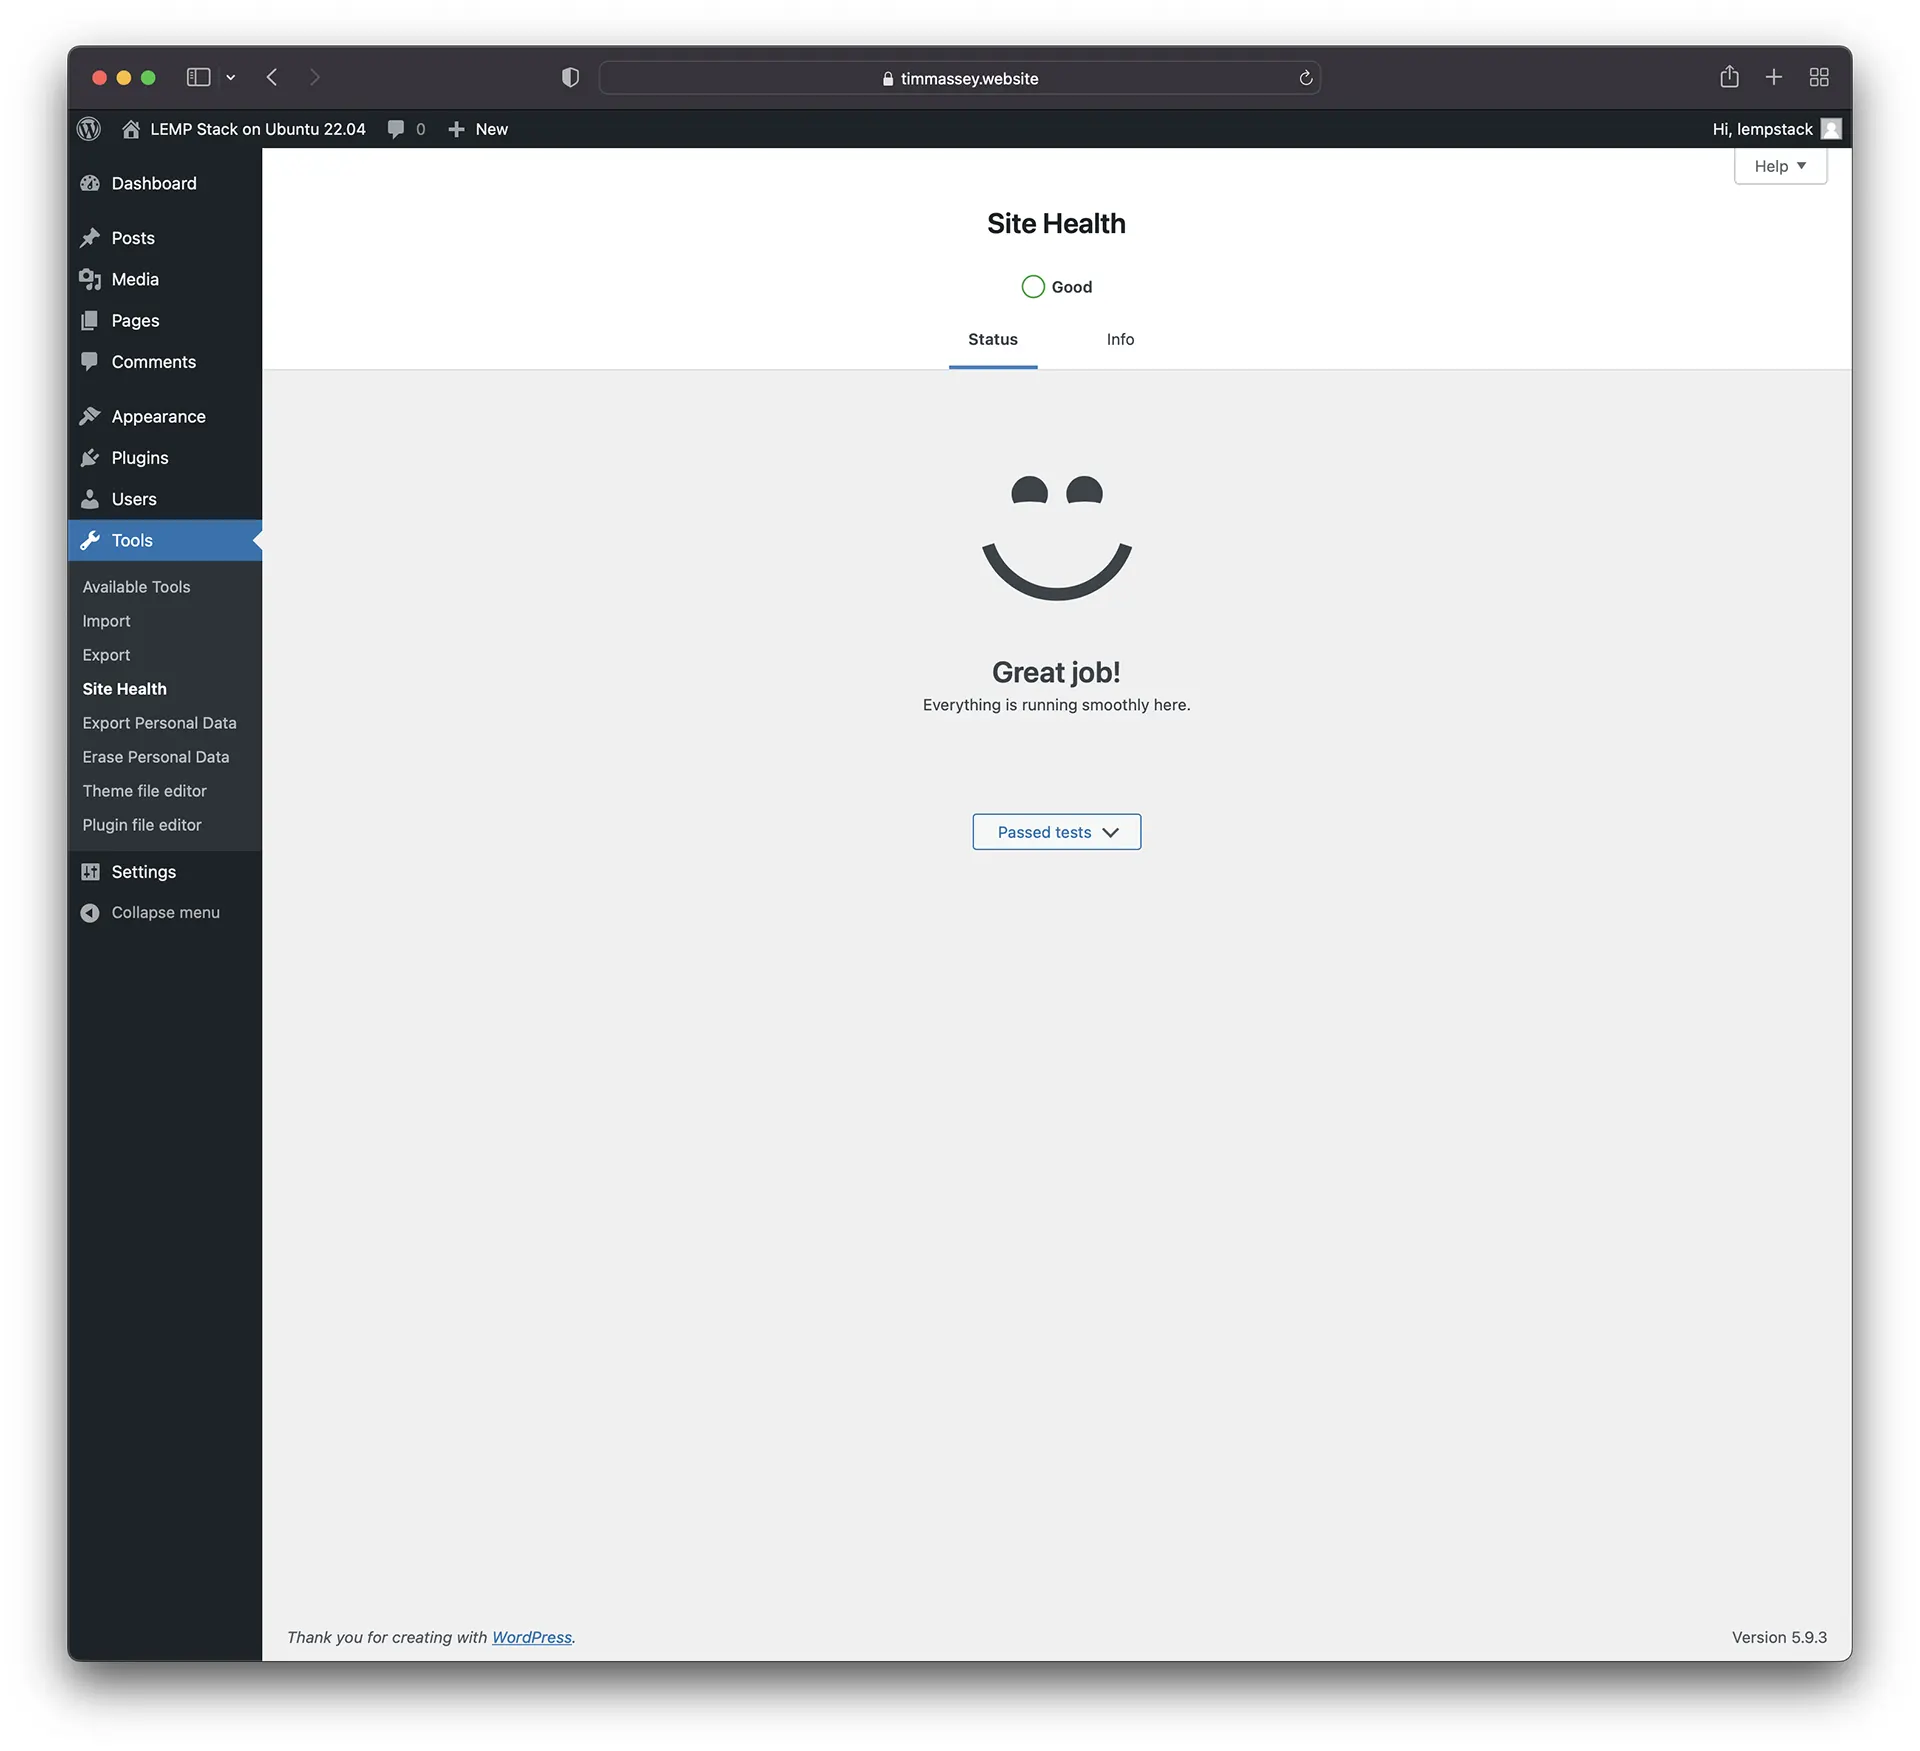
Dealing with the flagged inactive plugins and themes gives us the all-clear in a refreshed Site Health screen:
Notes and references