
If you don’t have a DigitalOcean (DO) account, you’ll need to sign up with your credit card so that the platform can take payment for the resources you use. It’s a US company and so charges are in US dollars — your credit card company will make an additional non-native currency charge if, like me, you’re not in the US. DigitalOcean shows a handy usage figure giving a running total of your monthly spending at the top right of its user dashboard so you can keep tabs on your outgoings.
DO has a ‘Projects’ feature in its user interface so that you can organise your ‘Droplets’ (virtual servers) according to the project for which you’ve created them. I created a project called ‘LEMP stack on Ubuntu 22.04 LTS’ for this walk-through. I’ve added that it’s a ‘Website or blog’ project with some brief details of its purpose — ‘A walk-through of setting up a LEMP stack for WordPress hosting on Ubuntu 22.04 LTS’ — under the ‘Settings’ tab below the project’s icon, title and details.
Screenshots
DigitalOcean updates its services and consequently its Droplet creation process regularly, which means that the following screenshots will soon be out of date. The key elements of the configuration procedure stay in place, though, and it’s likely to include the following settings if not exactly as shown here.
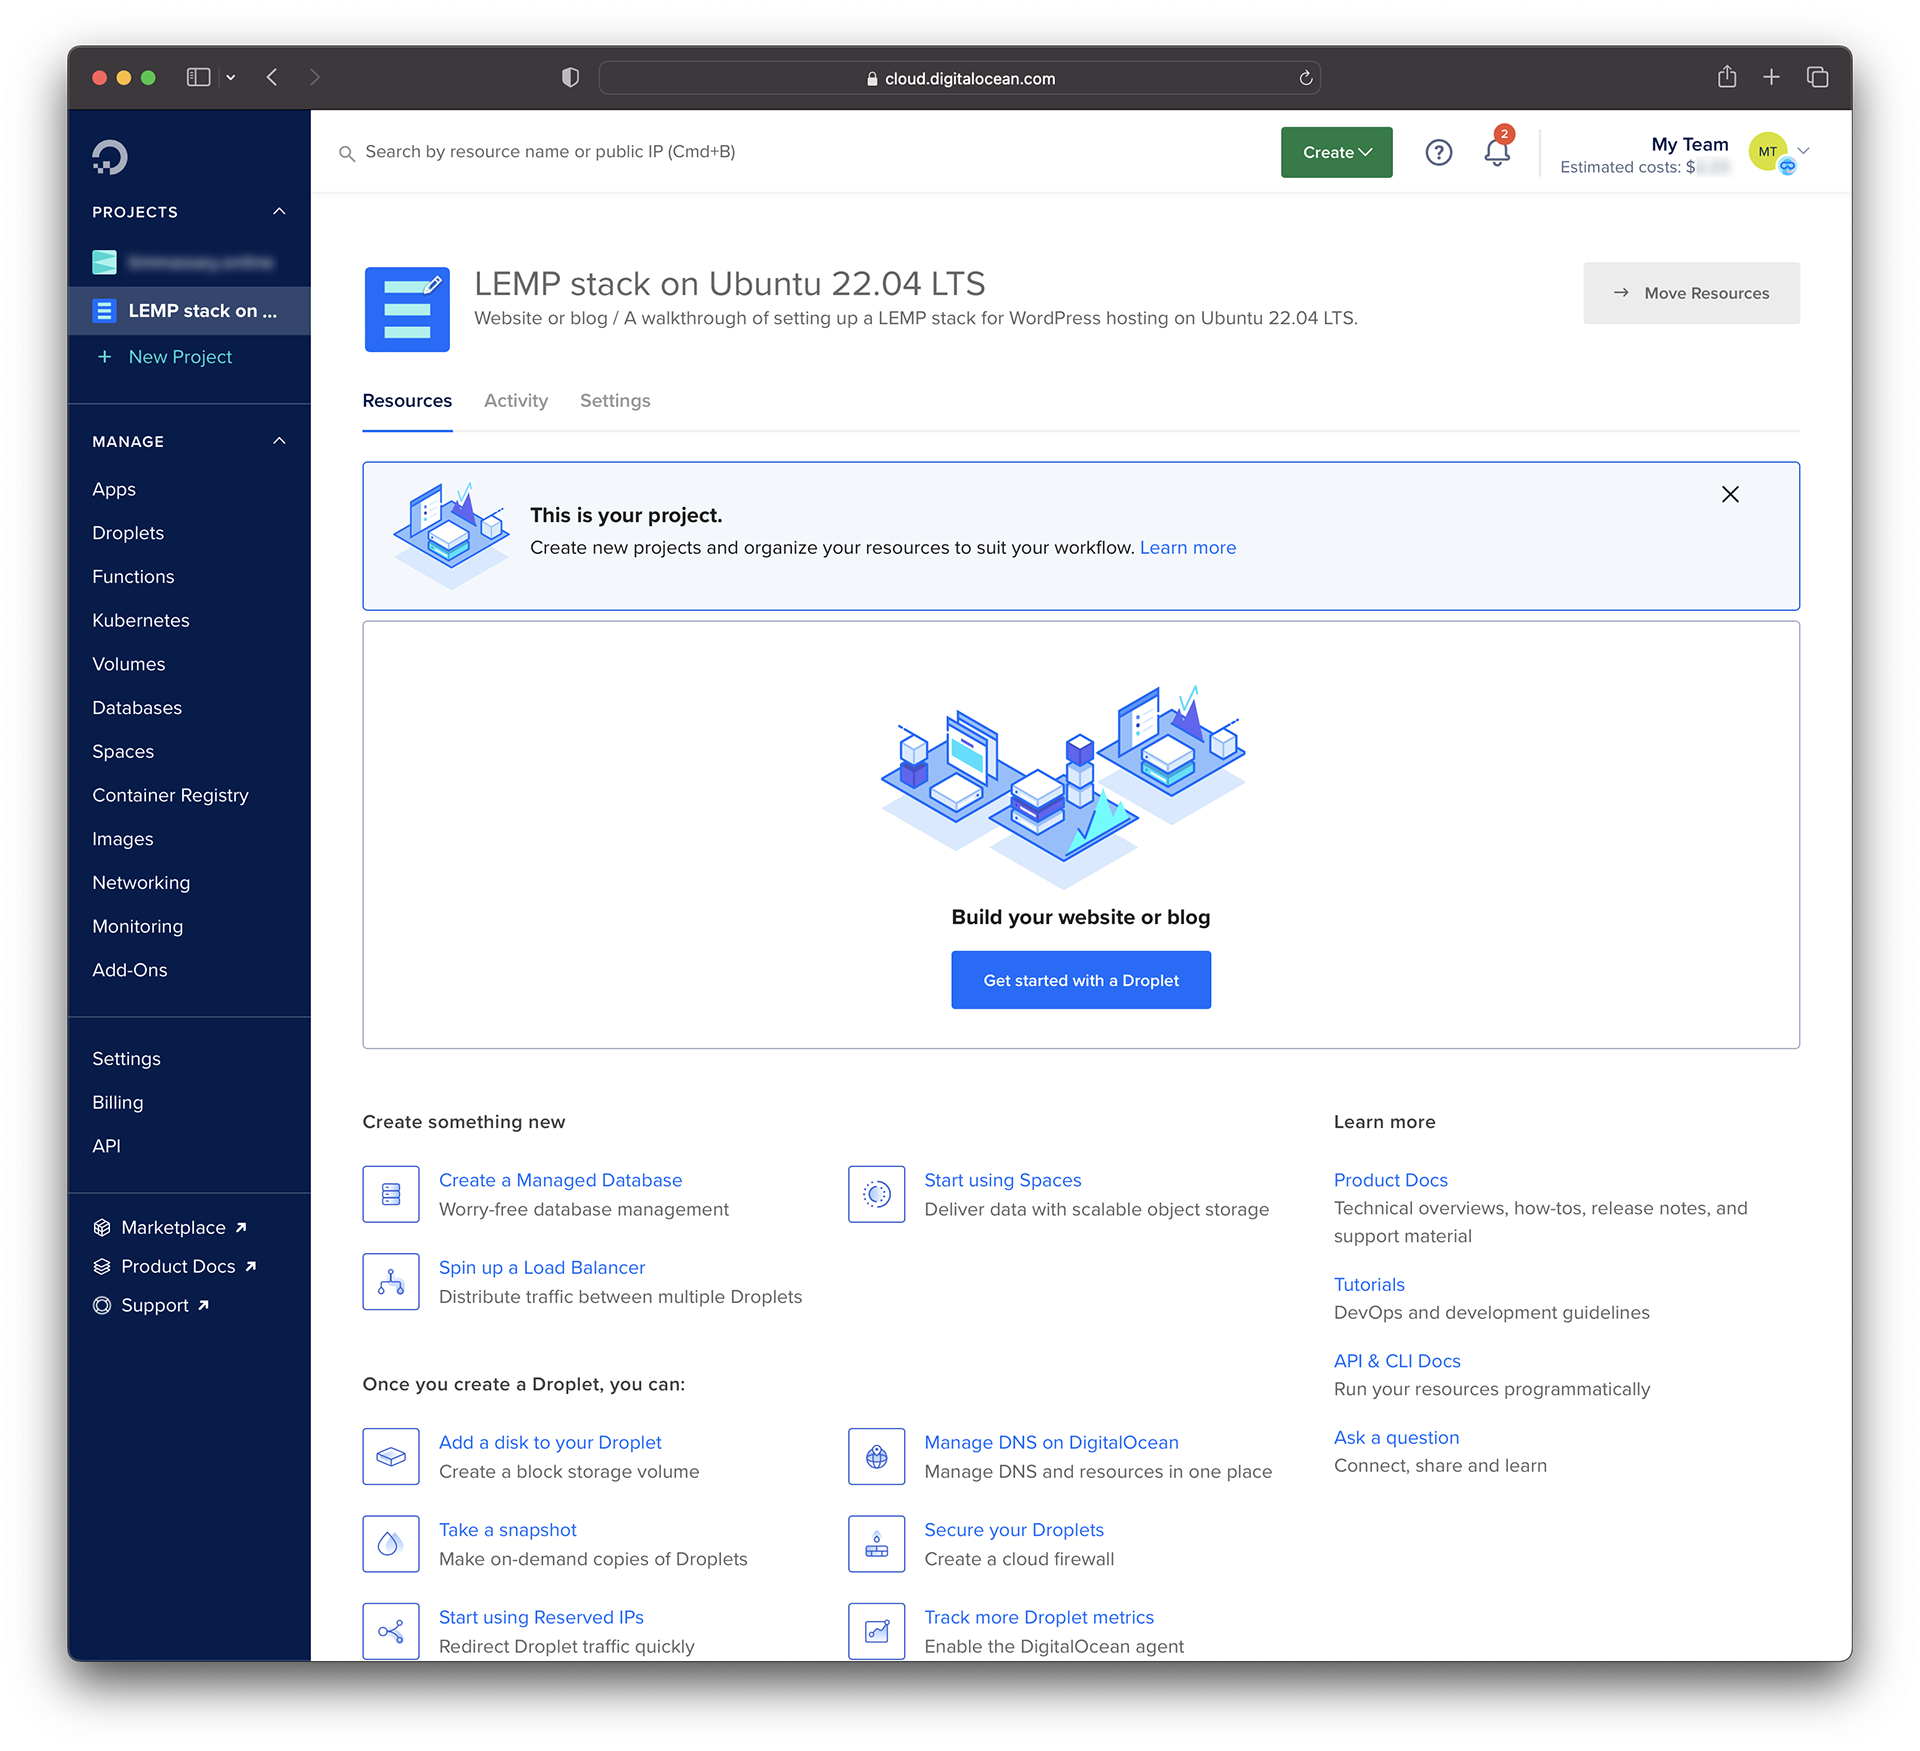
Create a Droplet by clicking the green Create button at the top right of the page and selecting ‘Droplets’ from the top of the drop-down list.
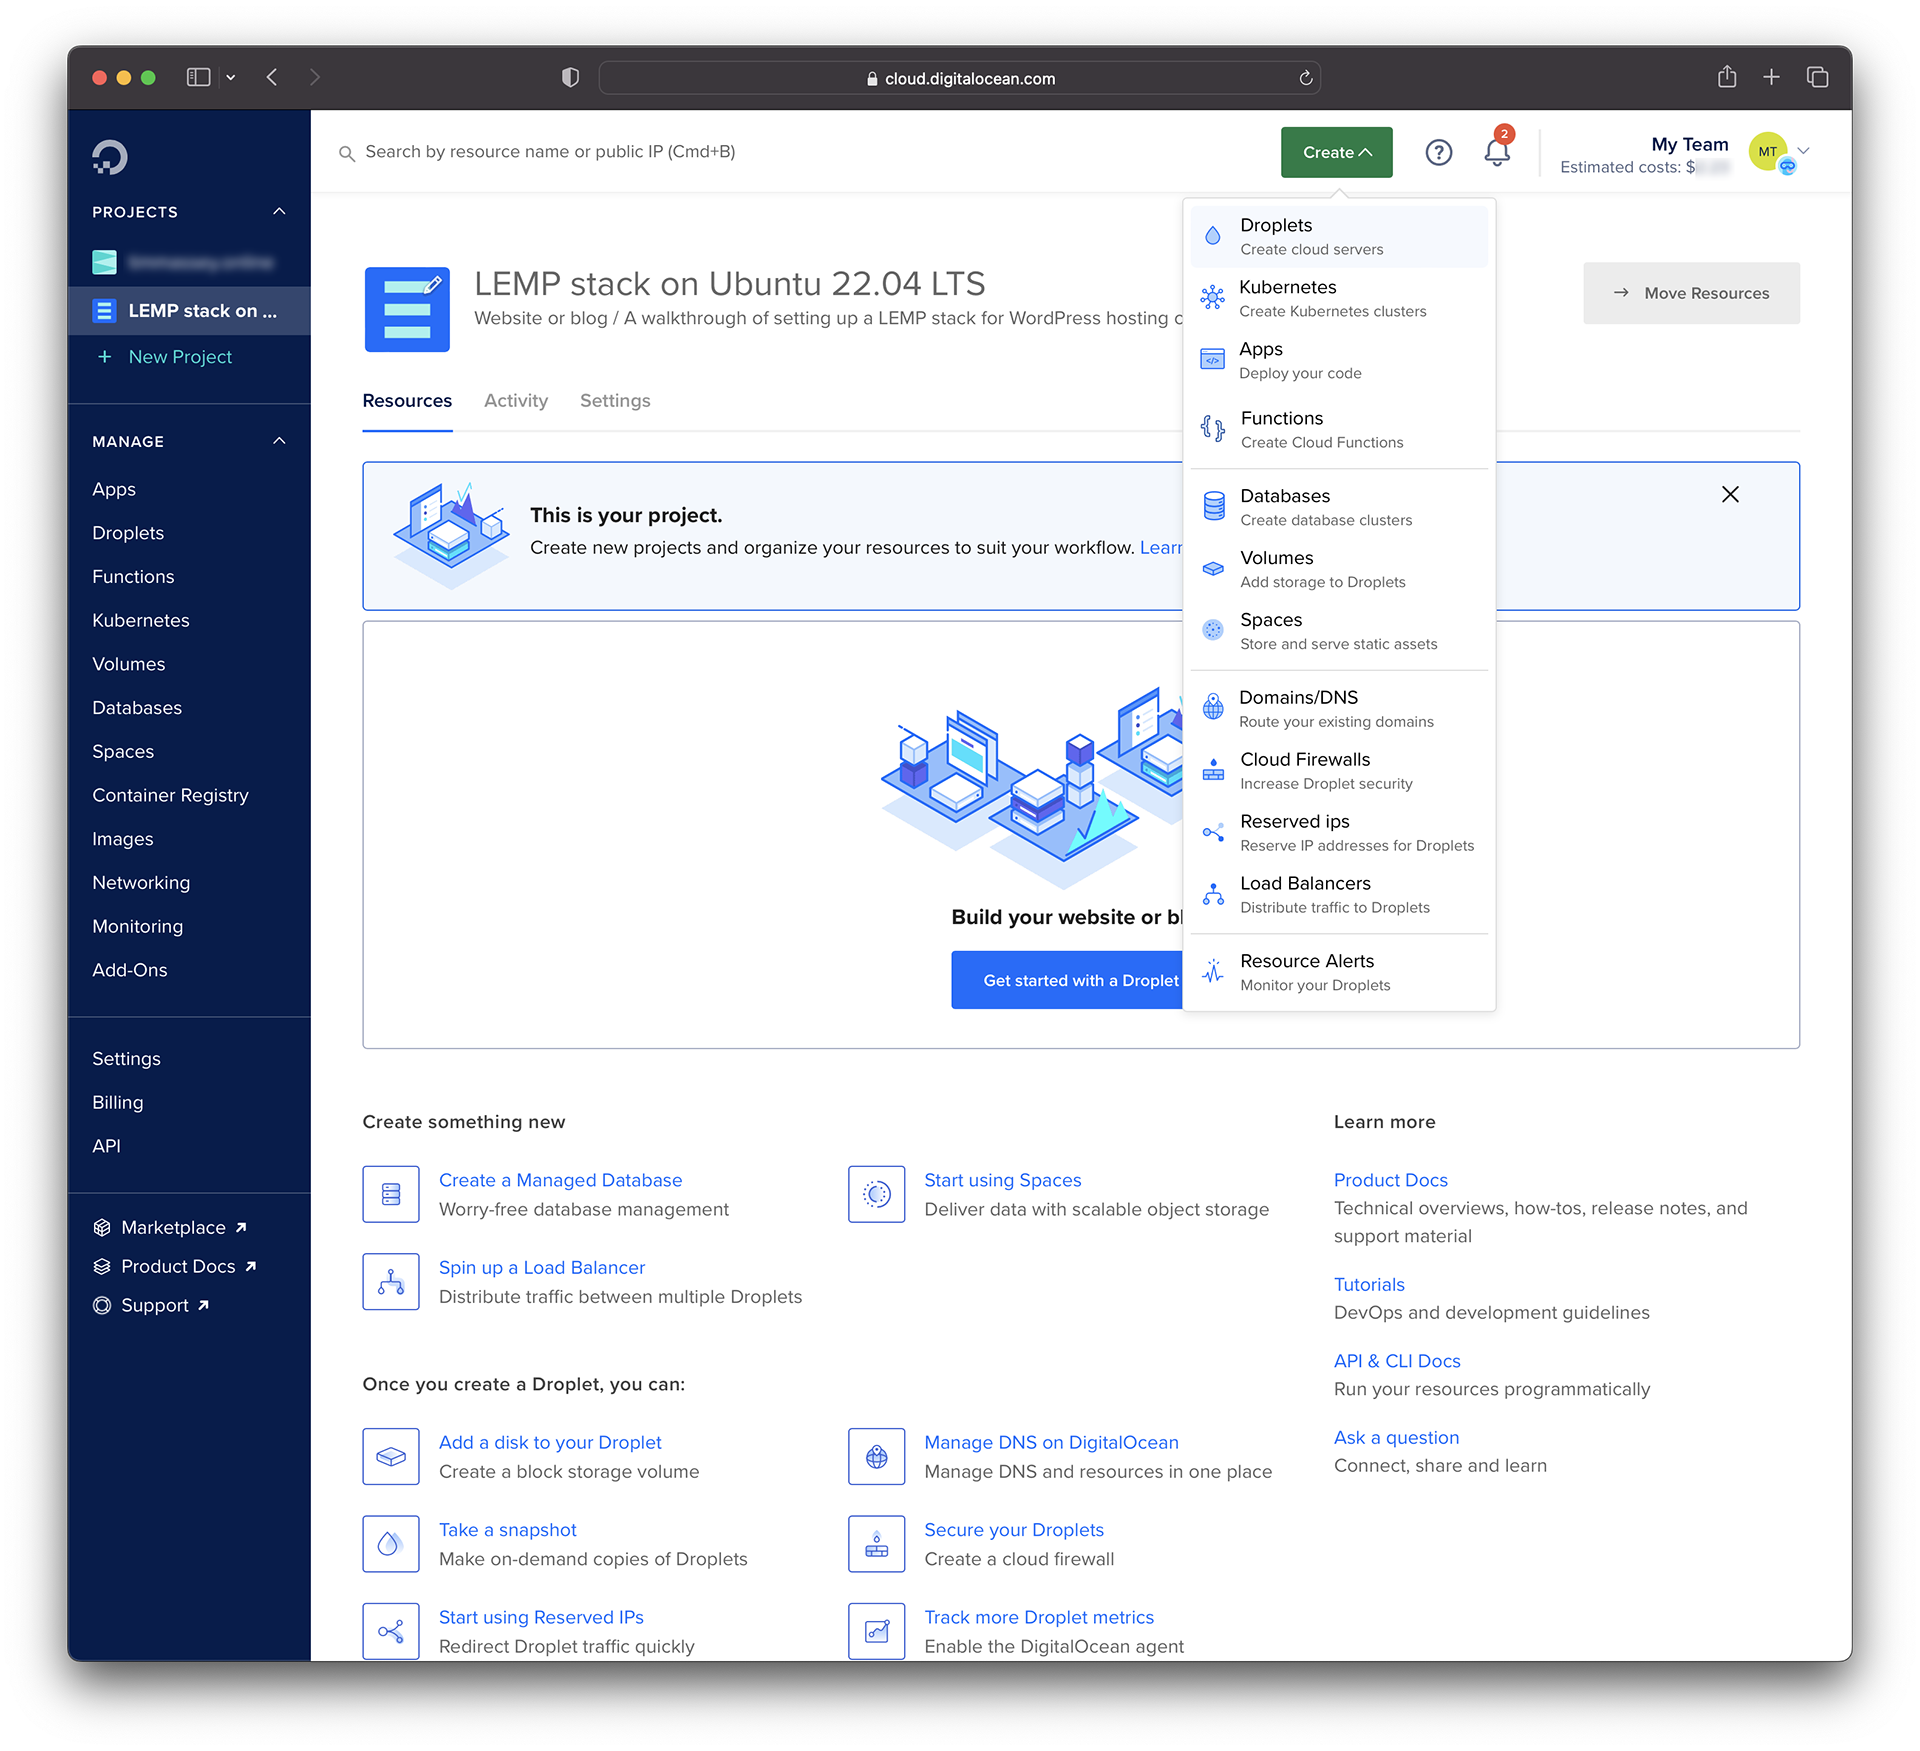
This brings you to the ‘Create Droplets’ page. The first option here is the nearest datacentre region — the location of the datacentre housing the server on which the virtual machine will be created. I’m selecting London.
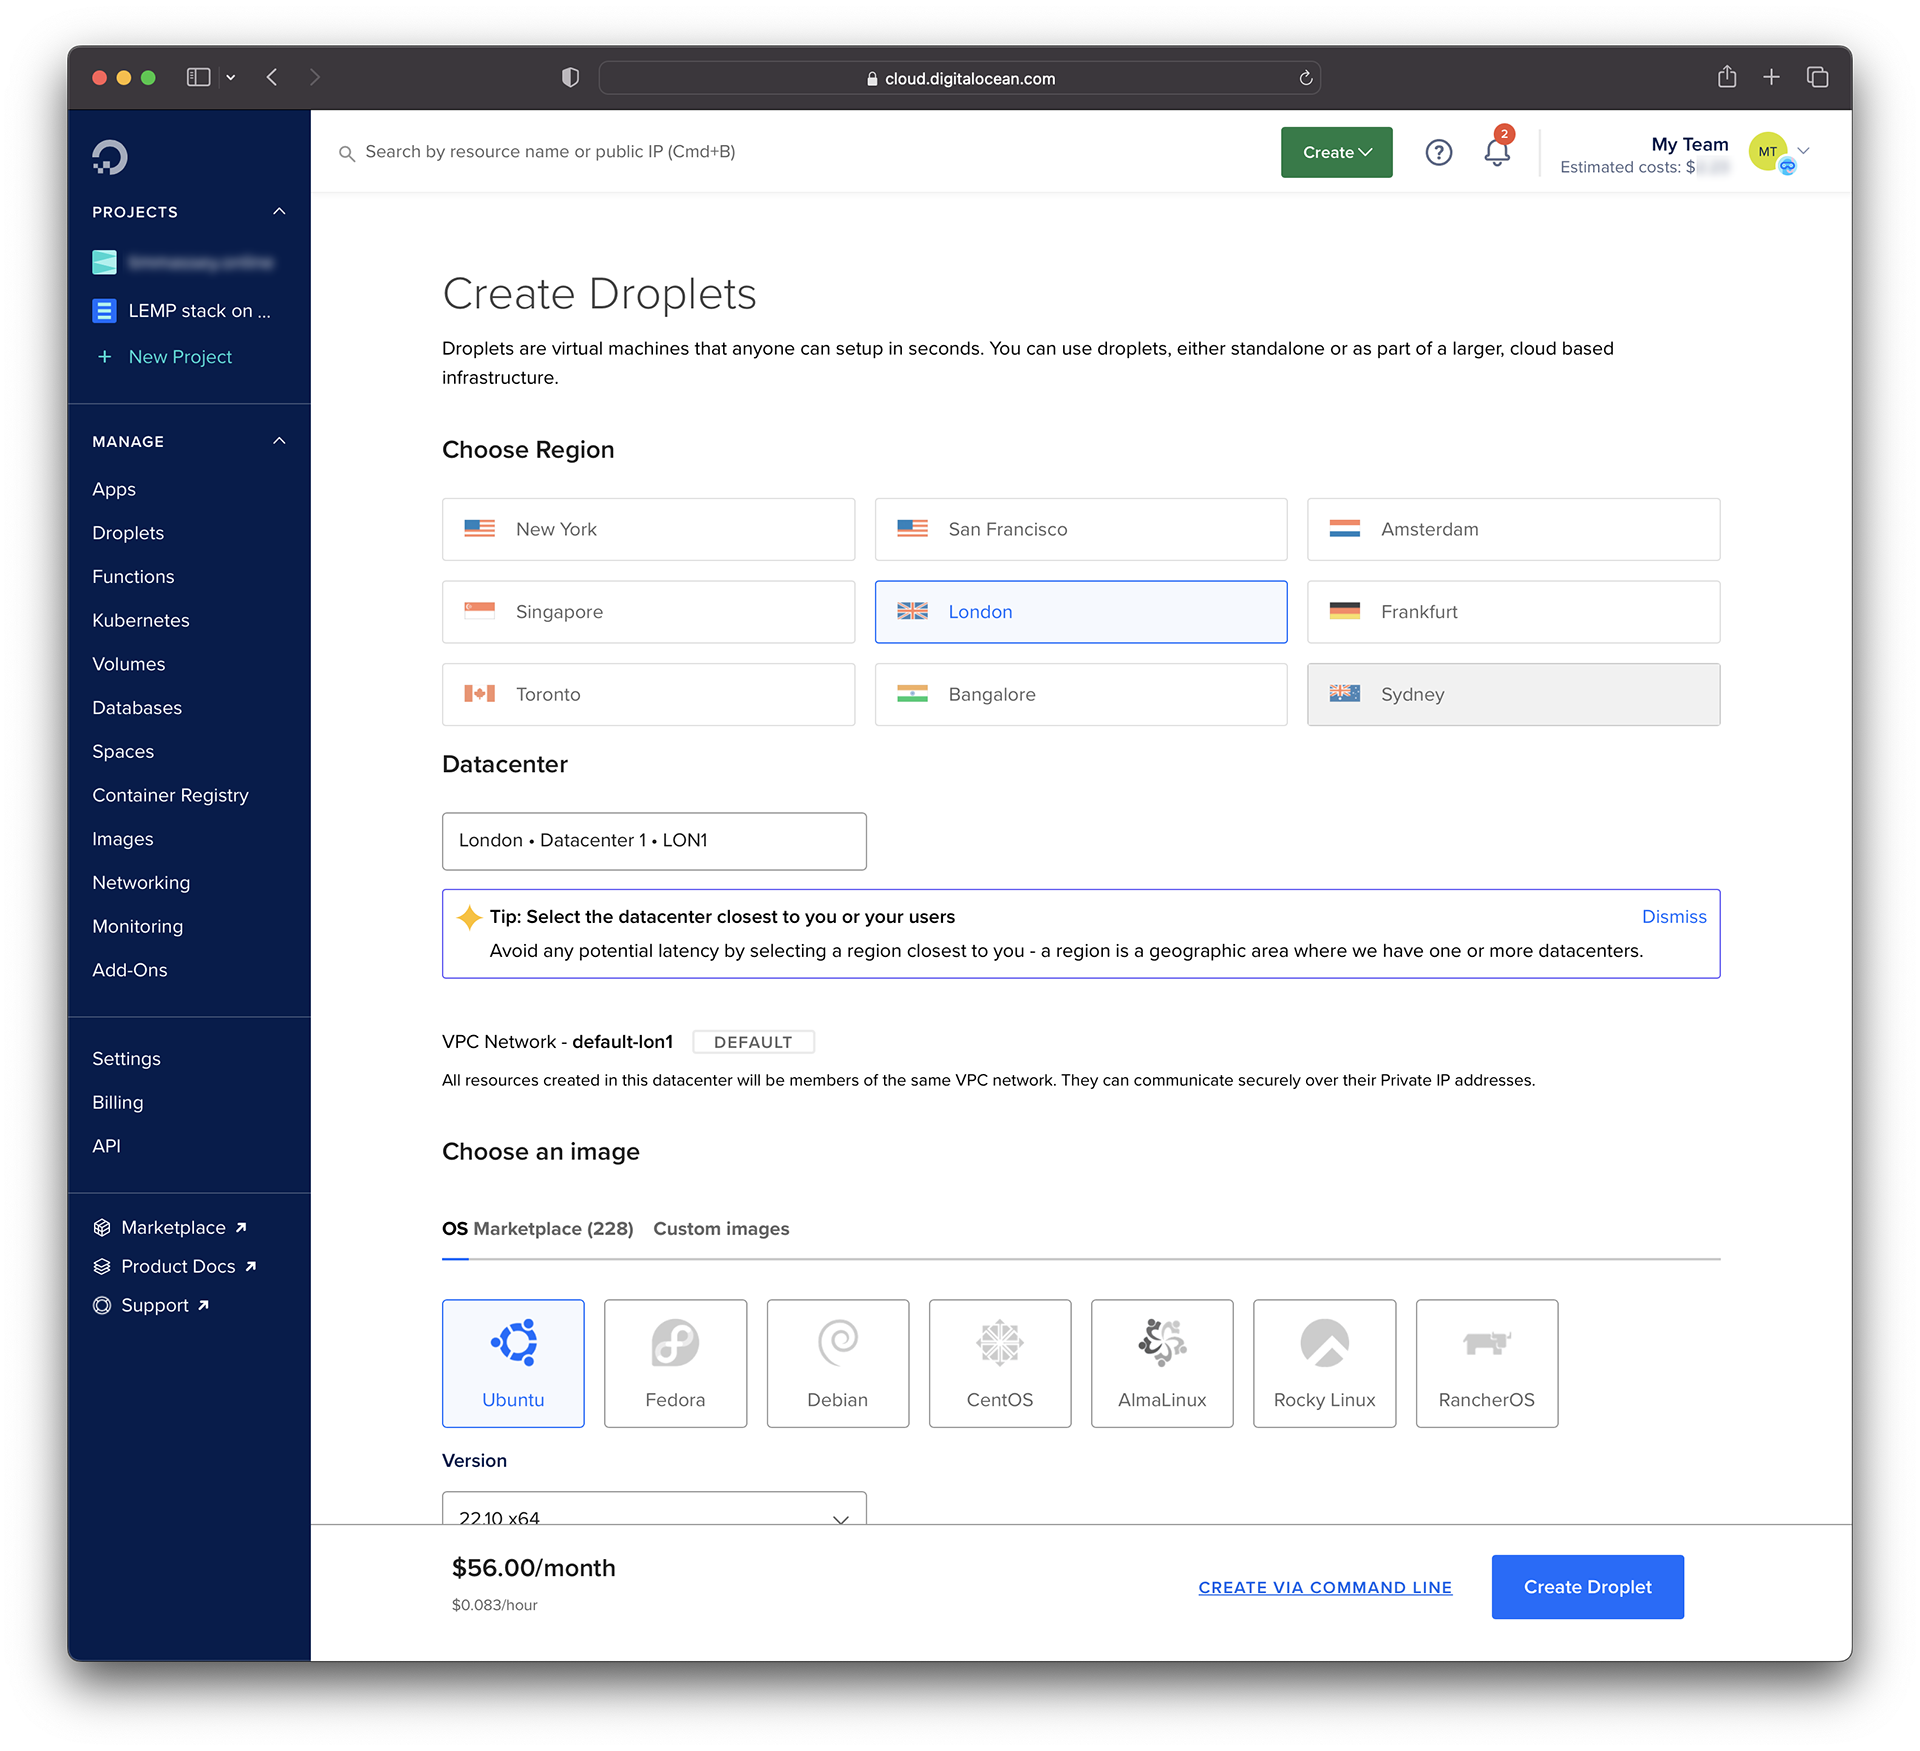
Next up is ‘Choose an image’ in which you pick the software you want to install on your virtual private server (VPS). I’m selecting 22.04 (LTS) x64 from the Ubuntu distribution drop-down menu. (Ubuntu has new distributions in April and October, and each is numbered for the year and month of issue. Its April releases in even-numbered years have the suffix ‘LTS’, which stands for ‘Long Term Support’. These distributions are updated for five years while Ubuntu’s other releases receive support for ‘at least nine months.’[1])
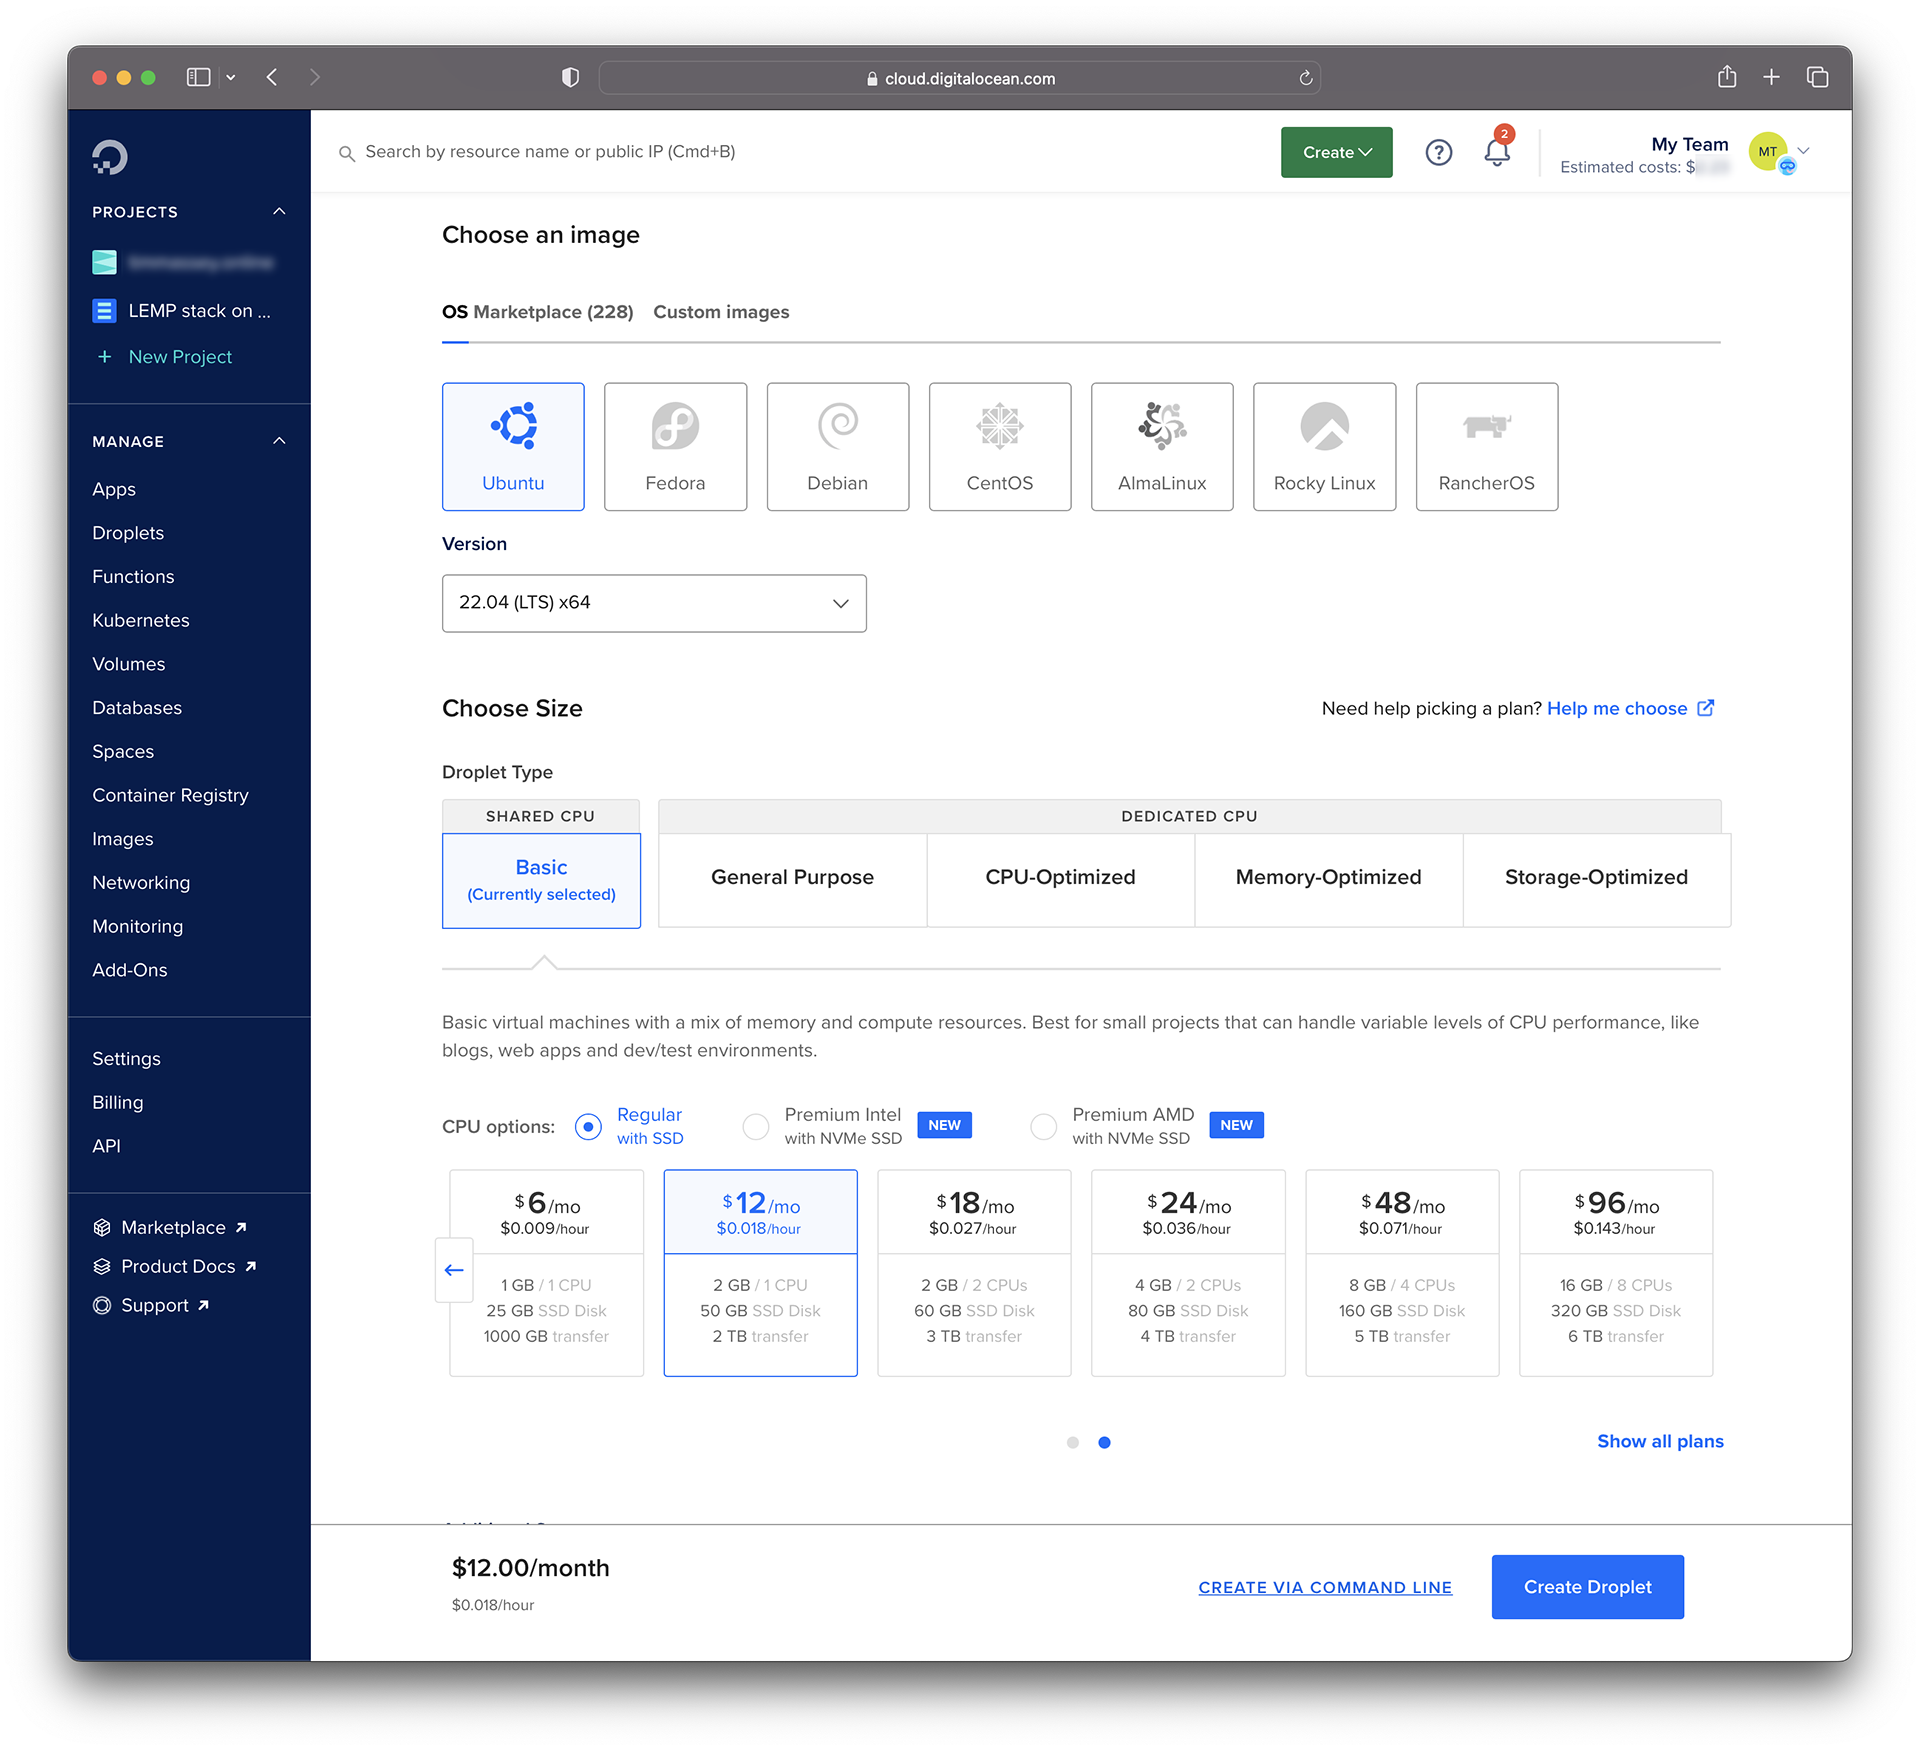
The next choice is the size of the Droplet. This is a decision about the processor and storage size and the number of processors for the virtual machine plus the amount of data it can transfer in a month. DO’s Droplets are scalable, so if your website or web app gets a lot of traffic, you can move to a larger package. I’m keeping things simple by selecting the ‘Basic’ plan with ‘Regular with SSD’ in the CPU options. The $6 package is too small to run WordPress, so I’m selecting the $12/month ($0.018/hour) plan.
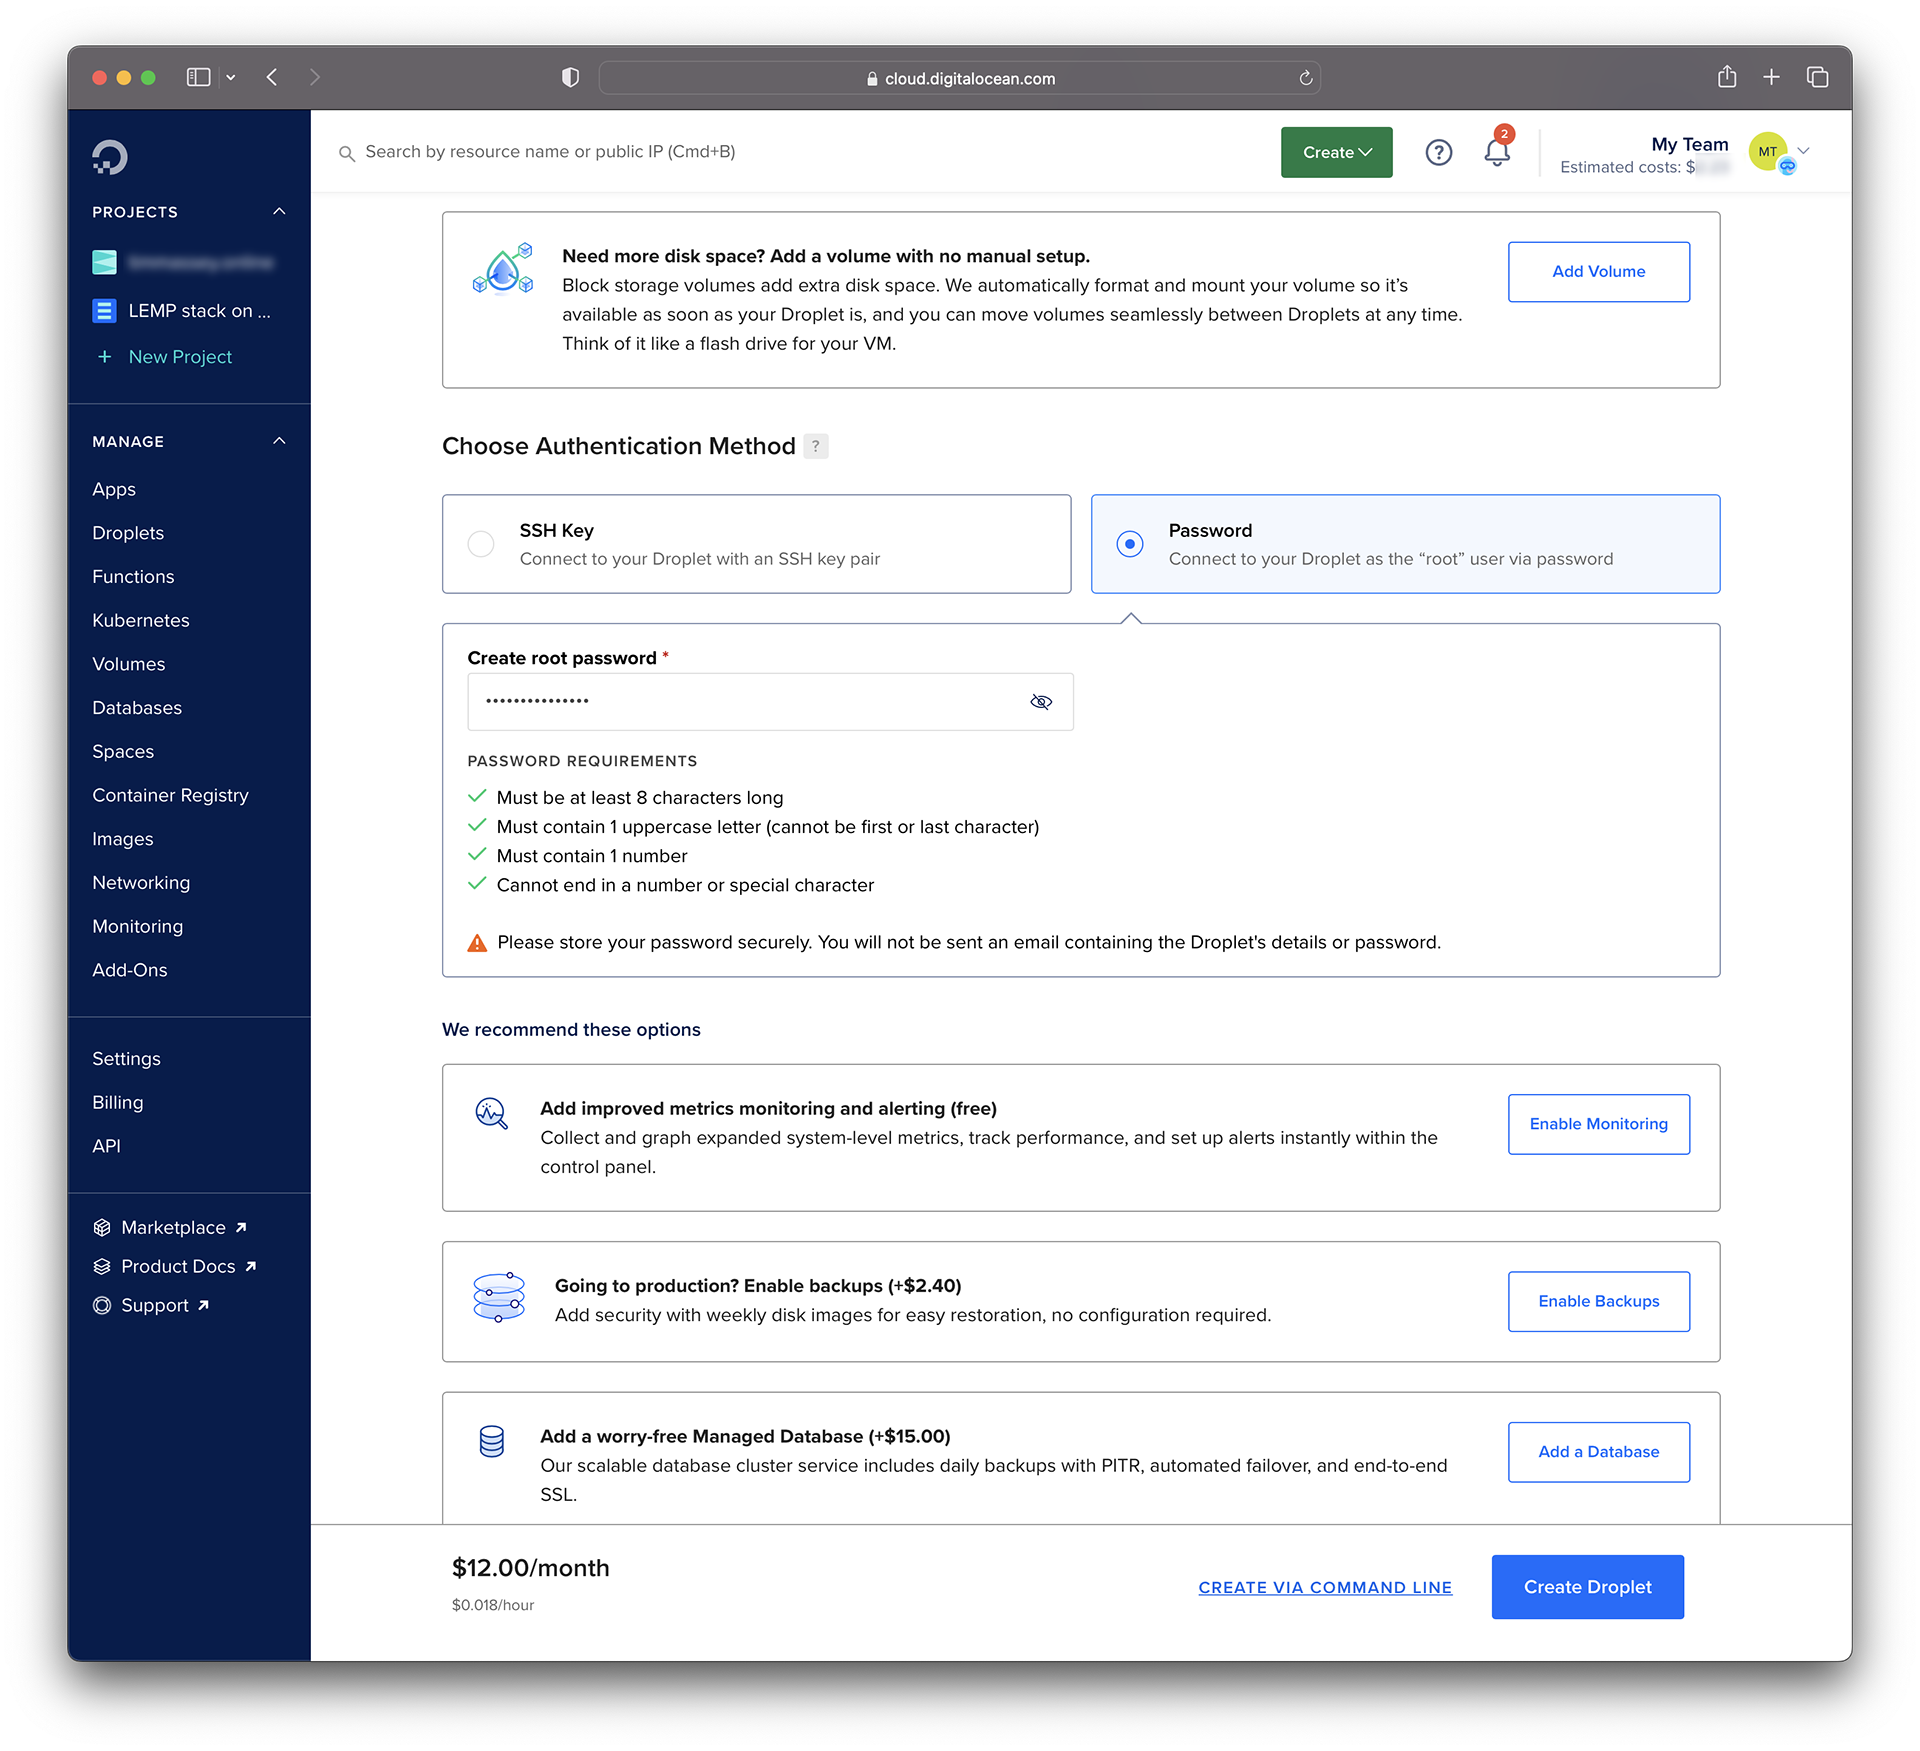
In the ‘Choose Authentication Method’ section, I’m choosing the ‘Password’ option because setting up SSH keys when configuring the server (as I will describe) helps in understanding how this security feature works. Also, if you’re new to VPS hosting, you’ll need to generate SSH keys on your local machine, so, again, ‘Password’ is the option to pick! You’ll need to create a strong password that meets the minimum standards required by the relevant form field — it has to be at least eight characters long, must include at least one uppercase character apart from the first and final characters, must include a number and cannot end in a number or special character. The following screenshot shows that the form reveals a checklist confirming when you’ve met these criteria with your new password. Make a careful note of your password.
It might be wise to ‘Enable backups’ in the ‘recommended options’ section to restore the entire Droplet if something goes wrong, but I’m not going to activate this service for this example. I’ve expanded the ‘Advanced Options’ section to enable IPv6 networking, which will be important when securing the server later.
In ‘Finalize Details’, I only need one Droplet, which I’m giving the hostname ‘timmassey.website’ as this is the fully qualified domain name (FQDN)[2] I’m going to use with it. I’m not adding tags as I have too few Droplets to need to categorise them and I’m creating this new Droplet in my ‘LEMP stack on Ubuntu 22.04 LTS’ project, so I don’t need to change that setting.
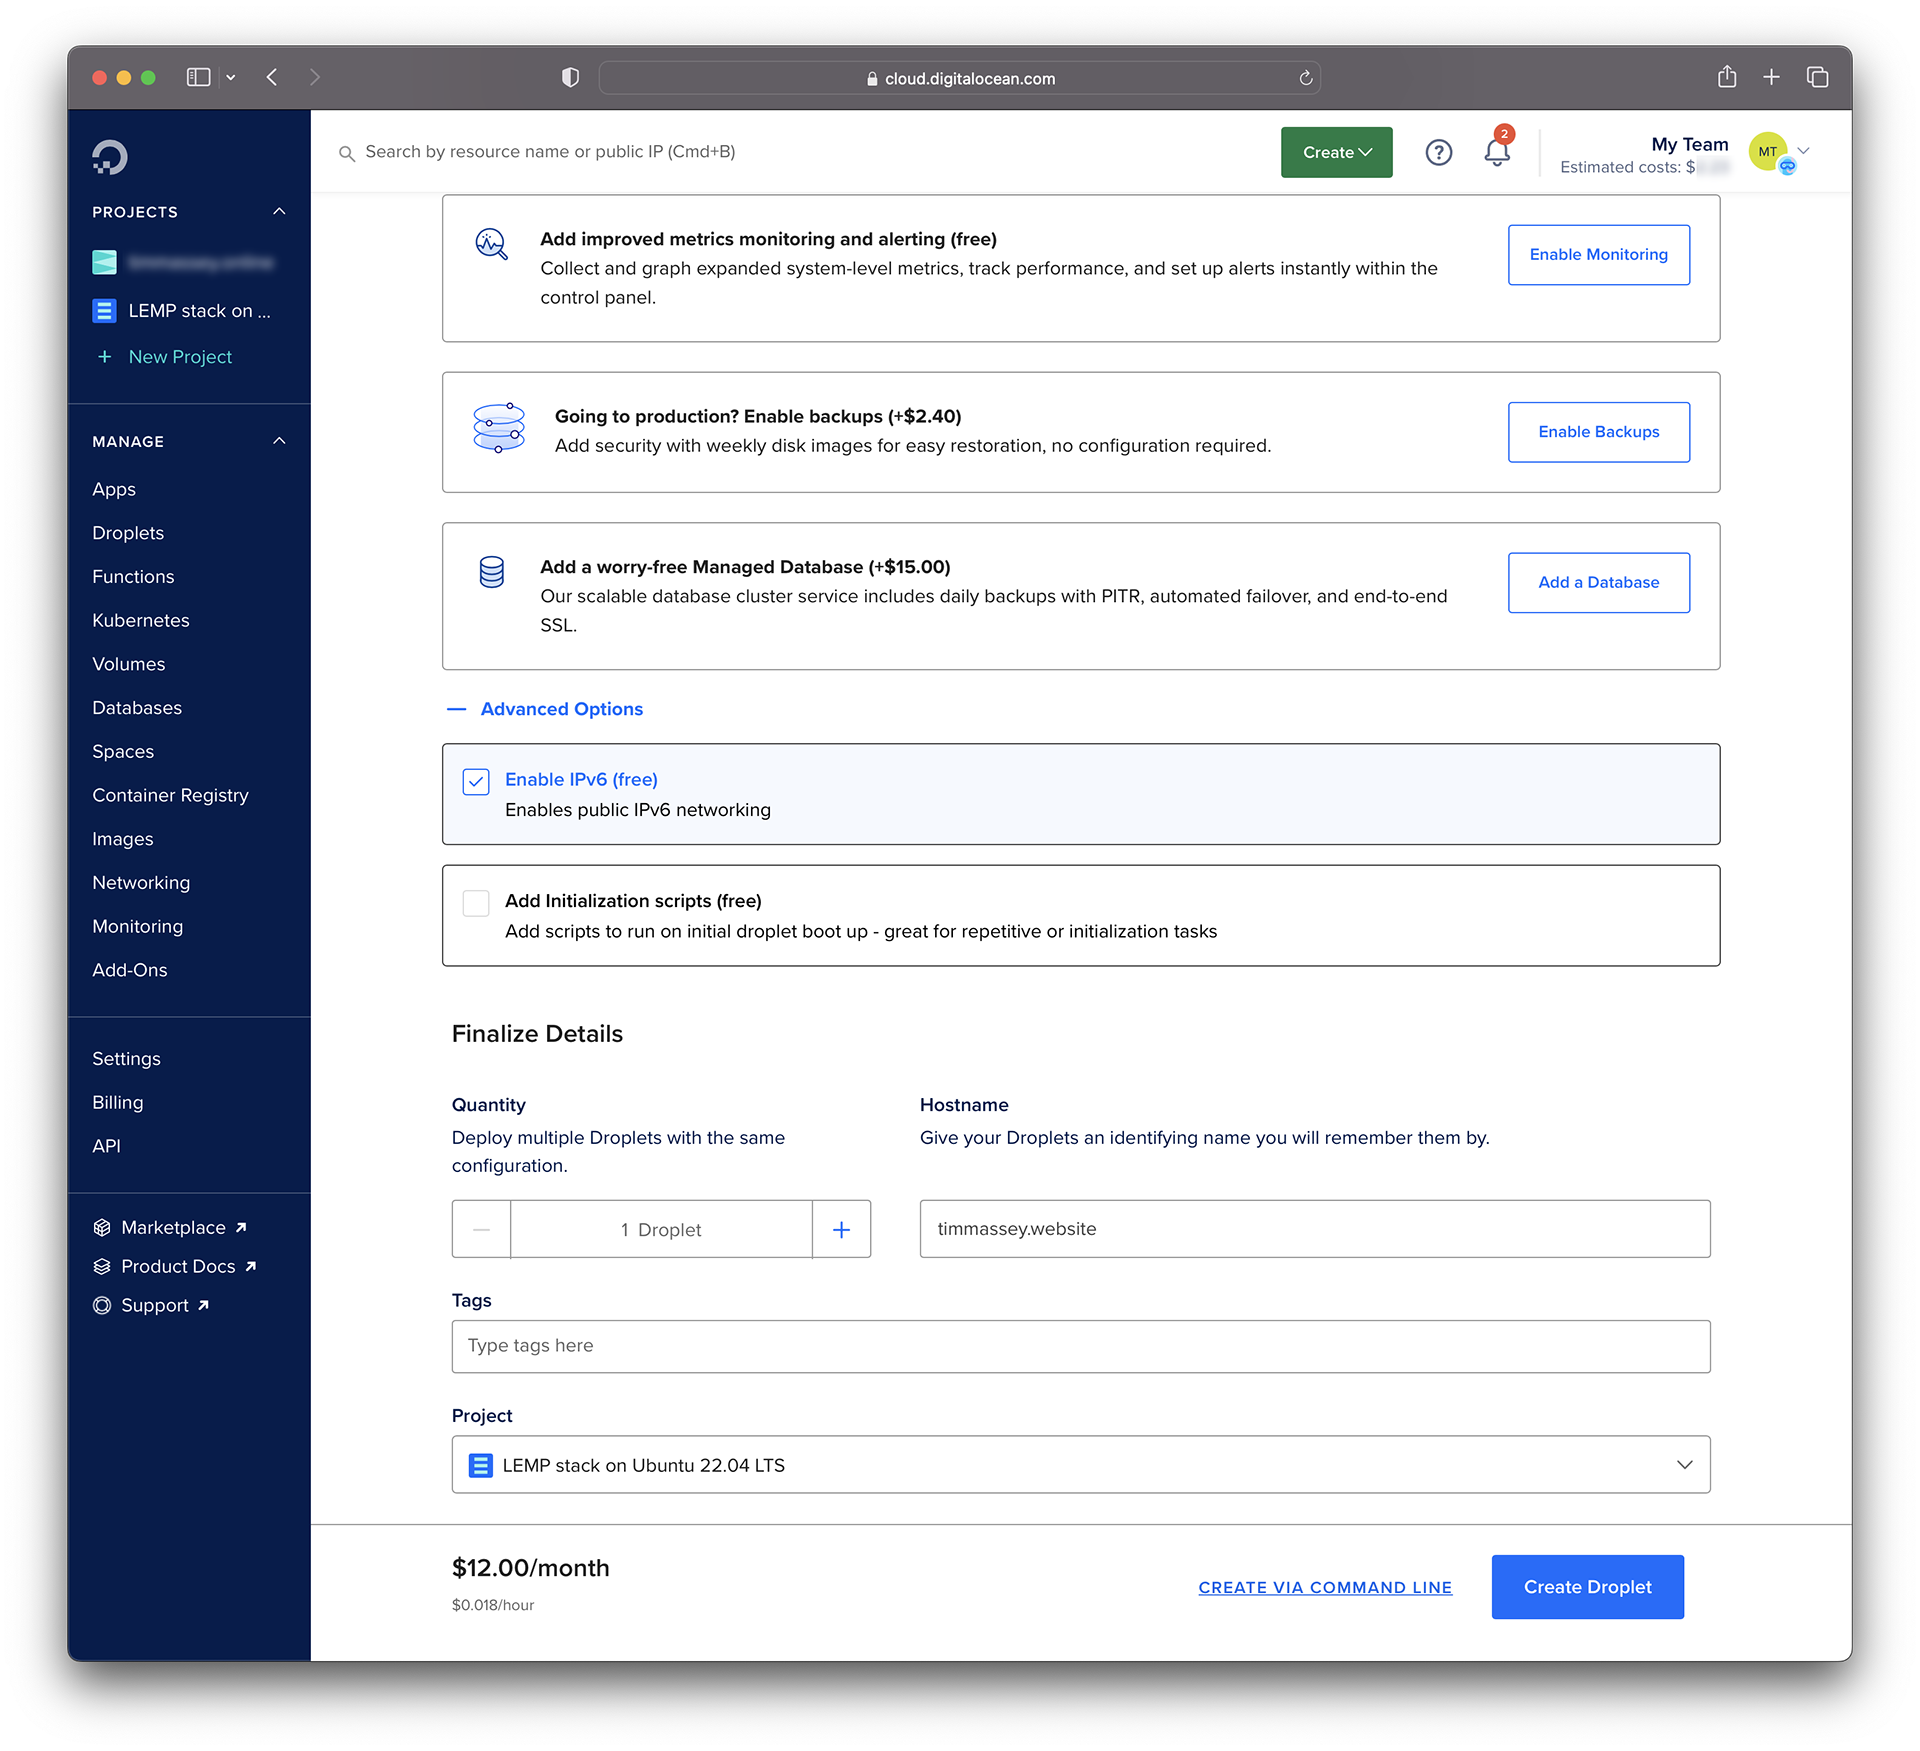
All that remains is to click the blue ‘Create Droplet’ button at the bottom right.
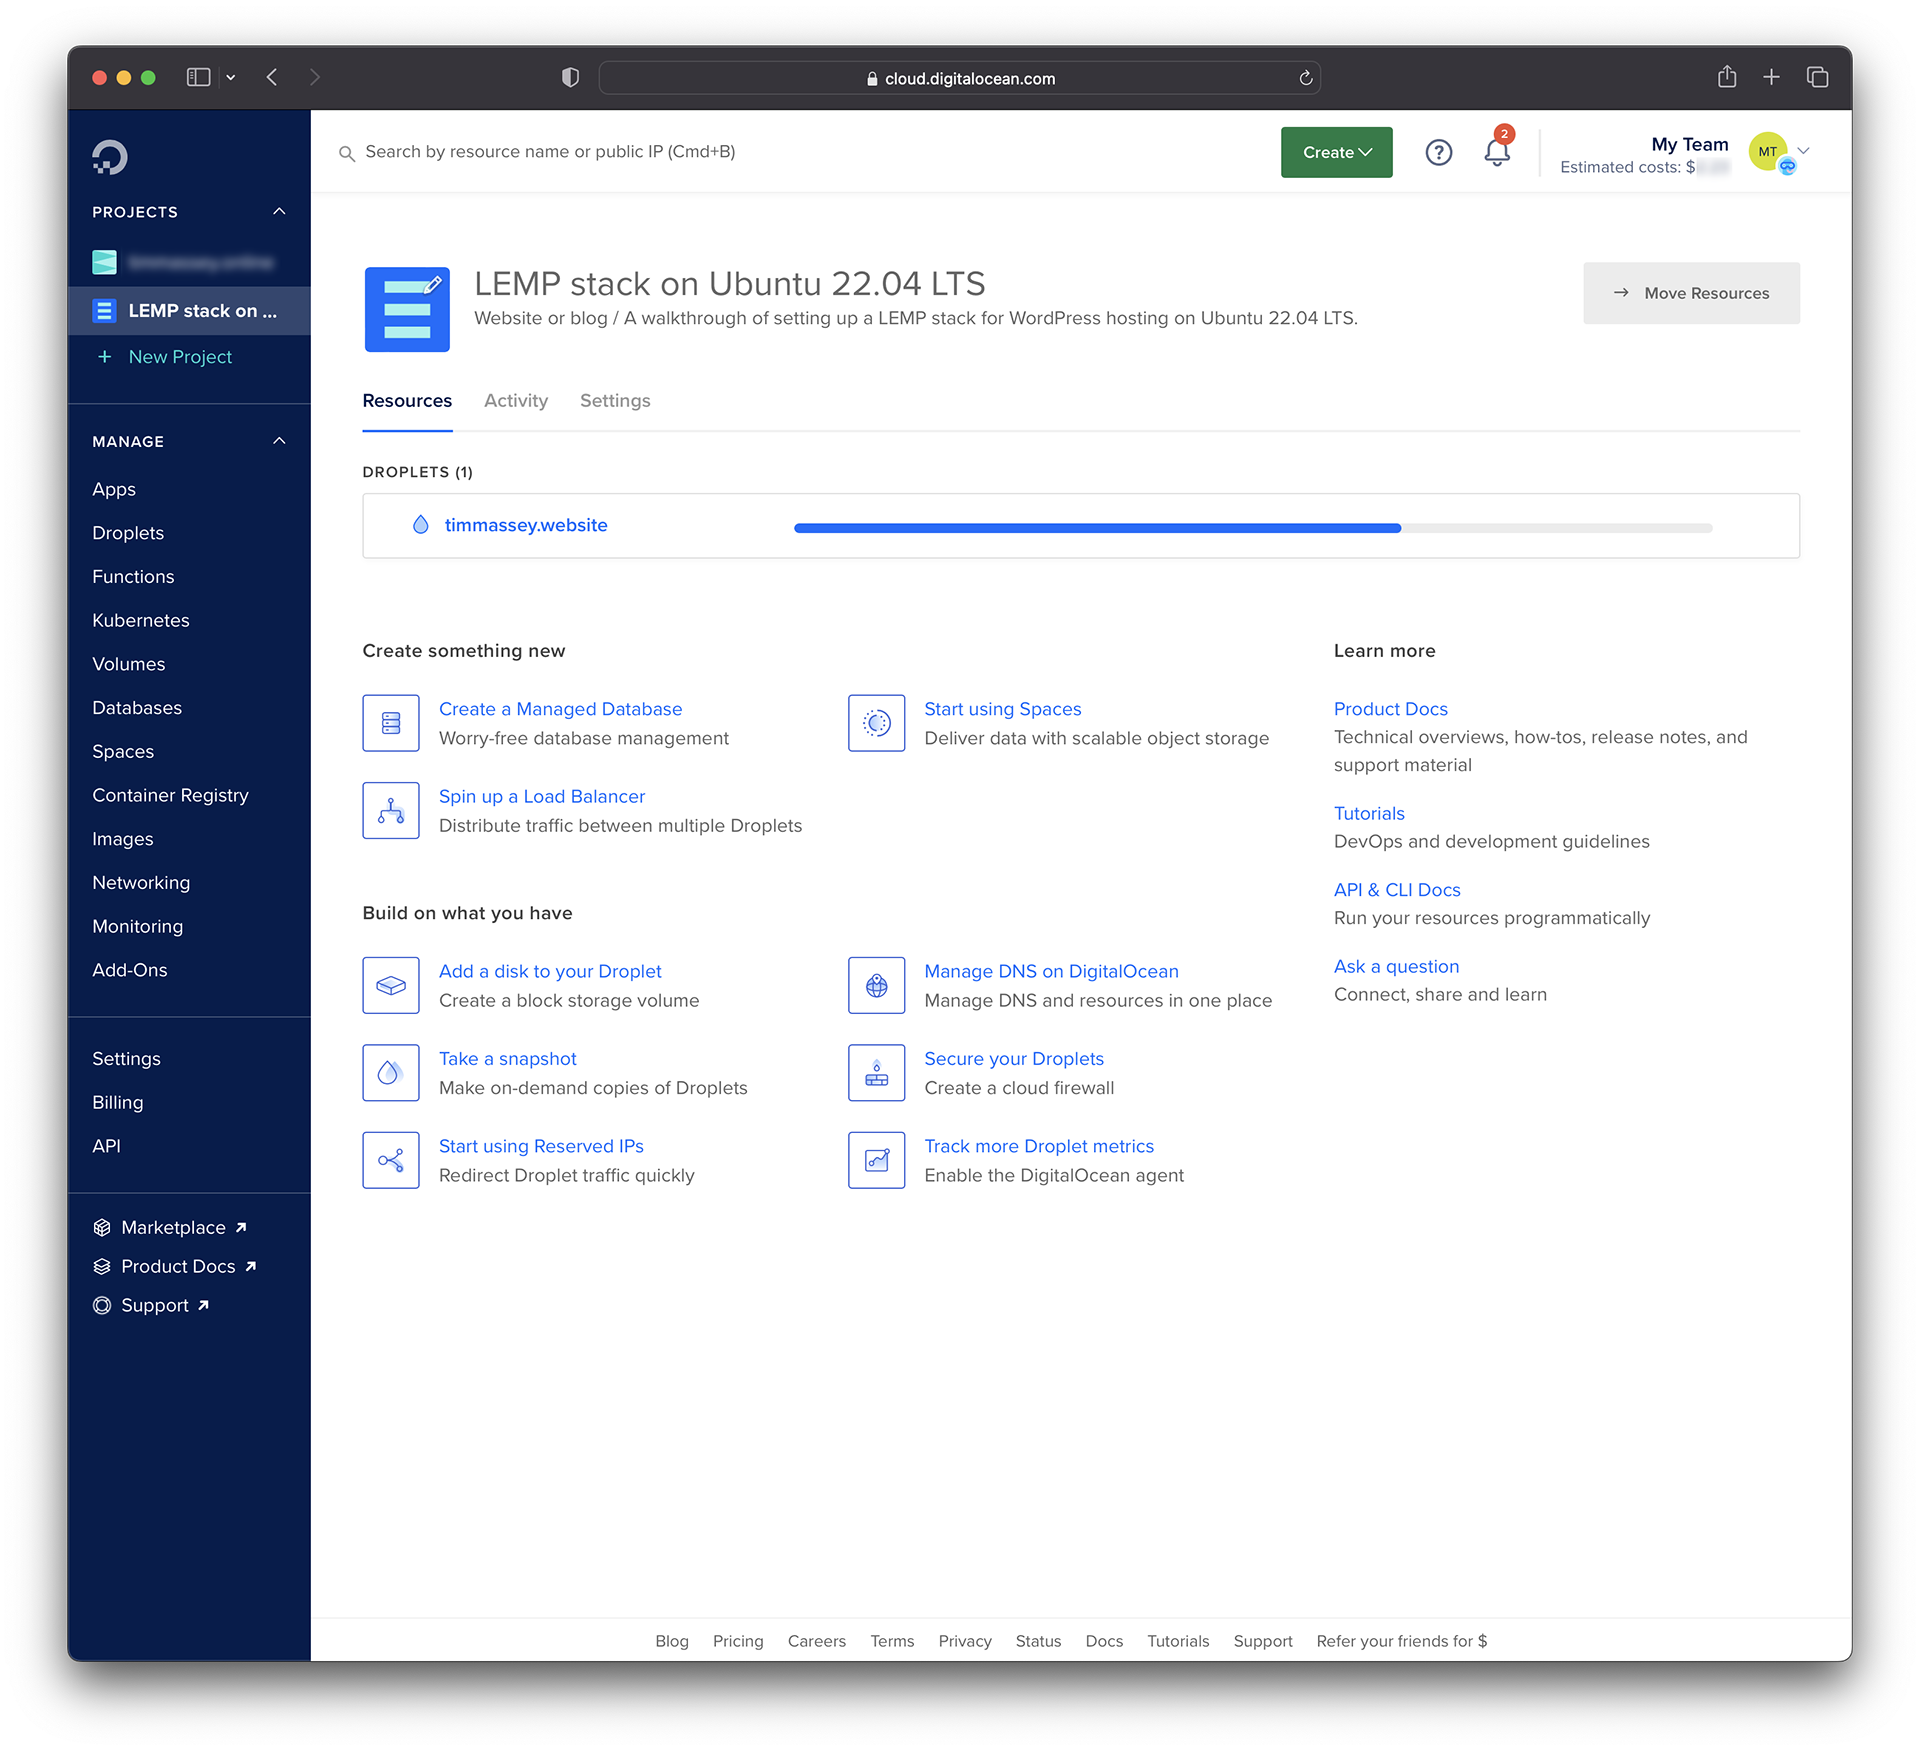
DO takes a moment to create the virtual machine and then lists it in the project dashboard. This shows the hostname you gave the VPS (‘timmassey.website’ in this worked example) alongside its public IP address.
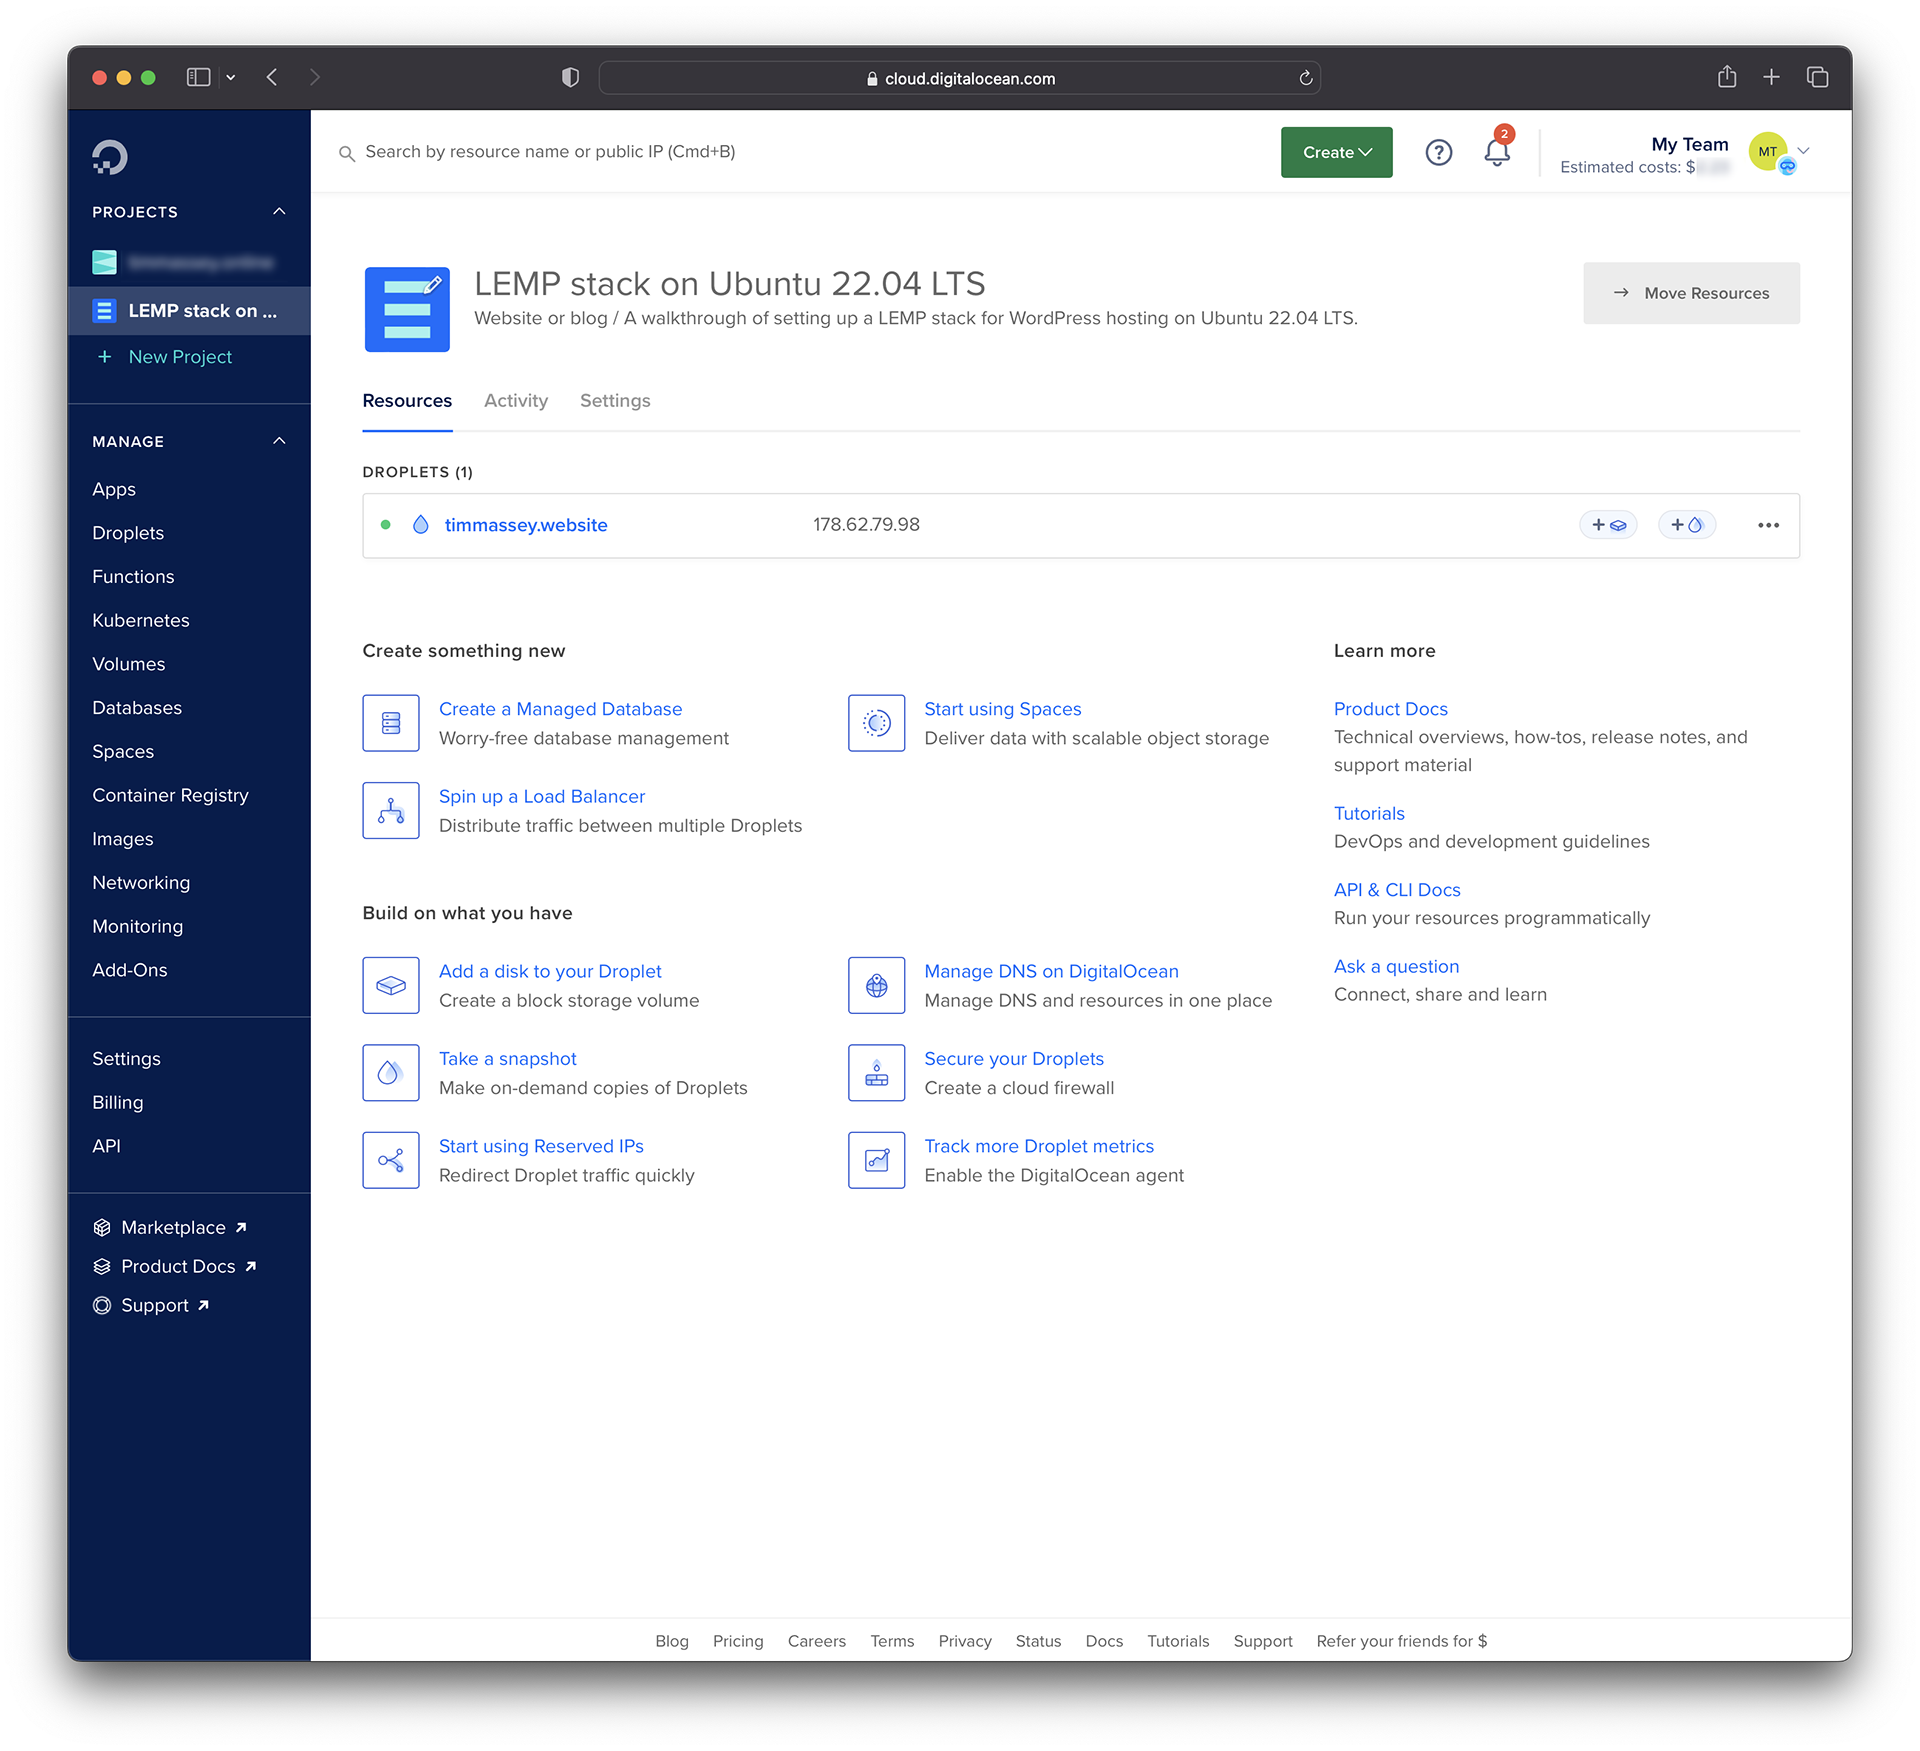
The Droplet is now ready to use.
Notes and references